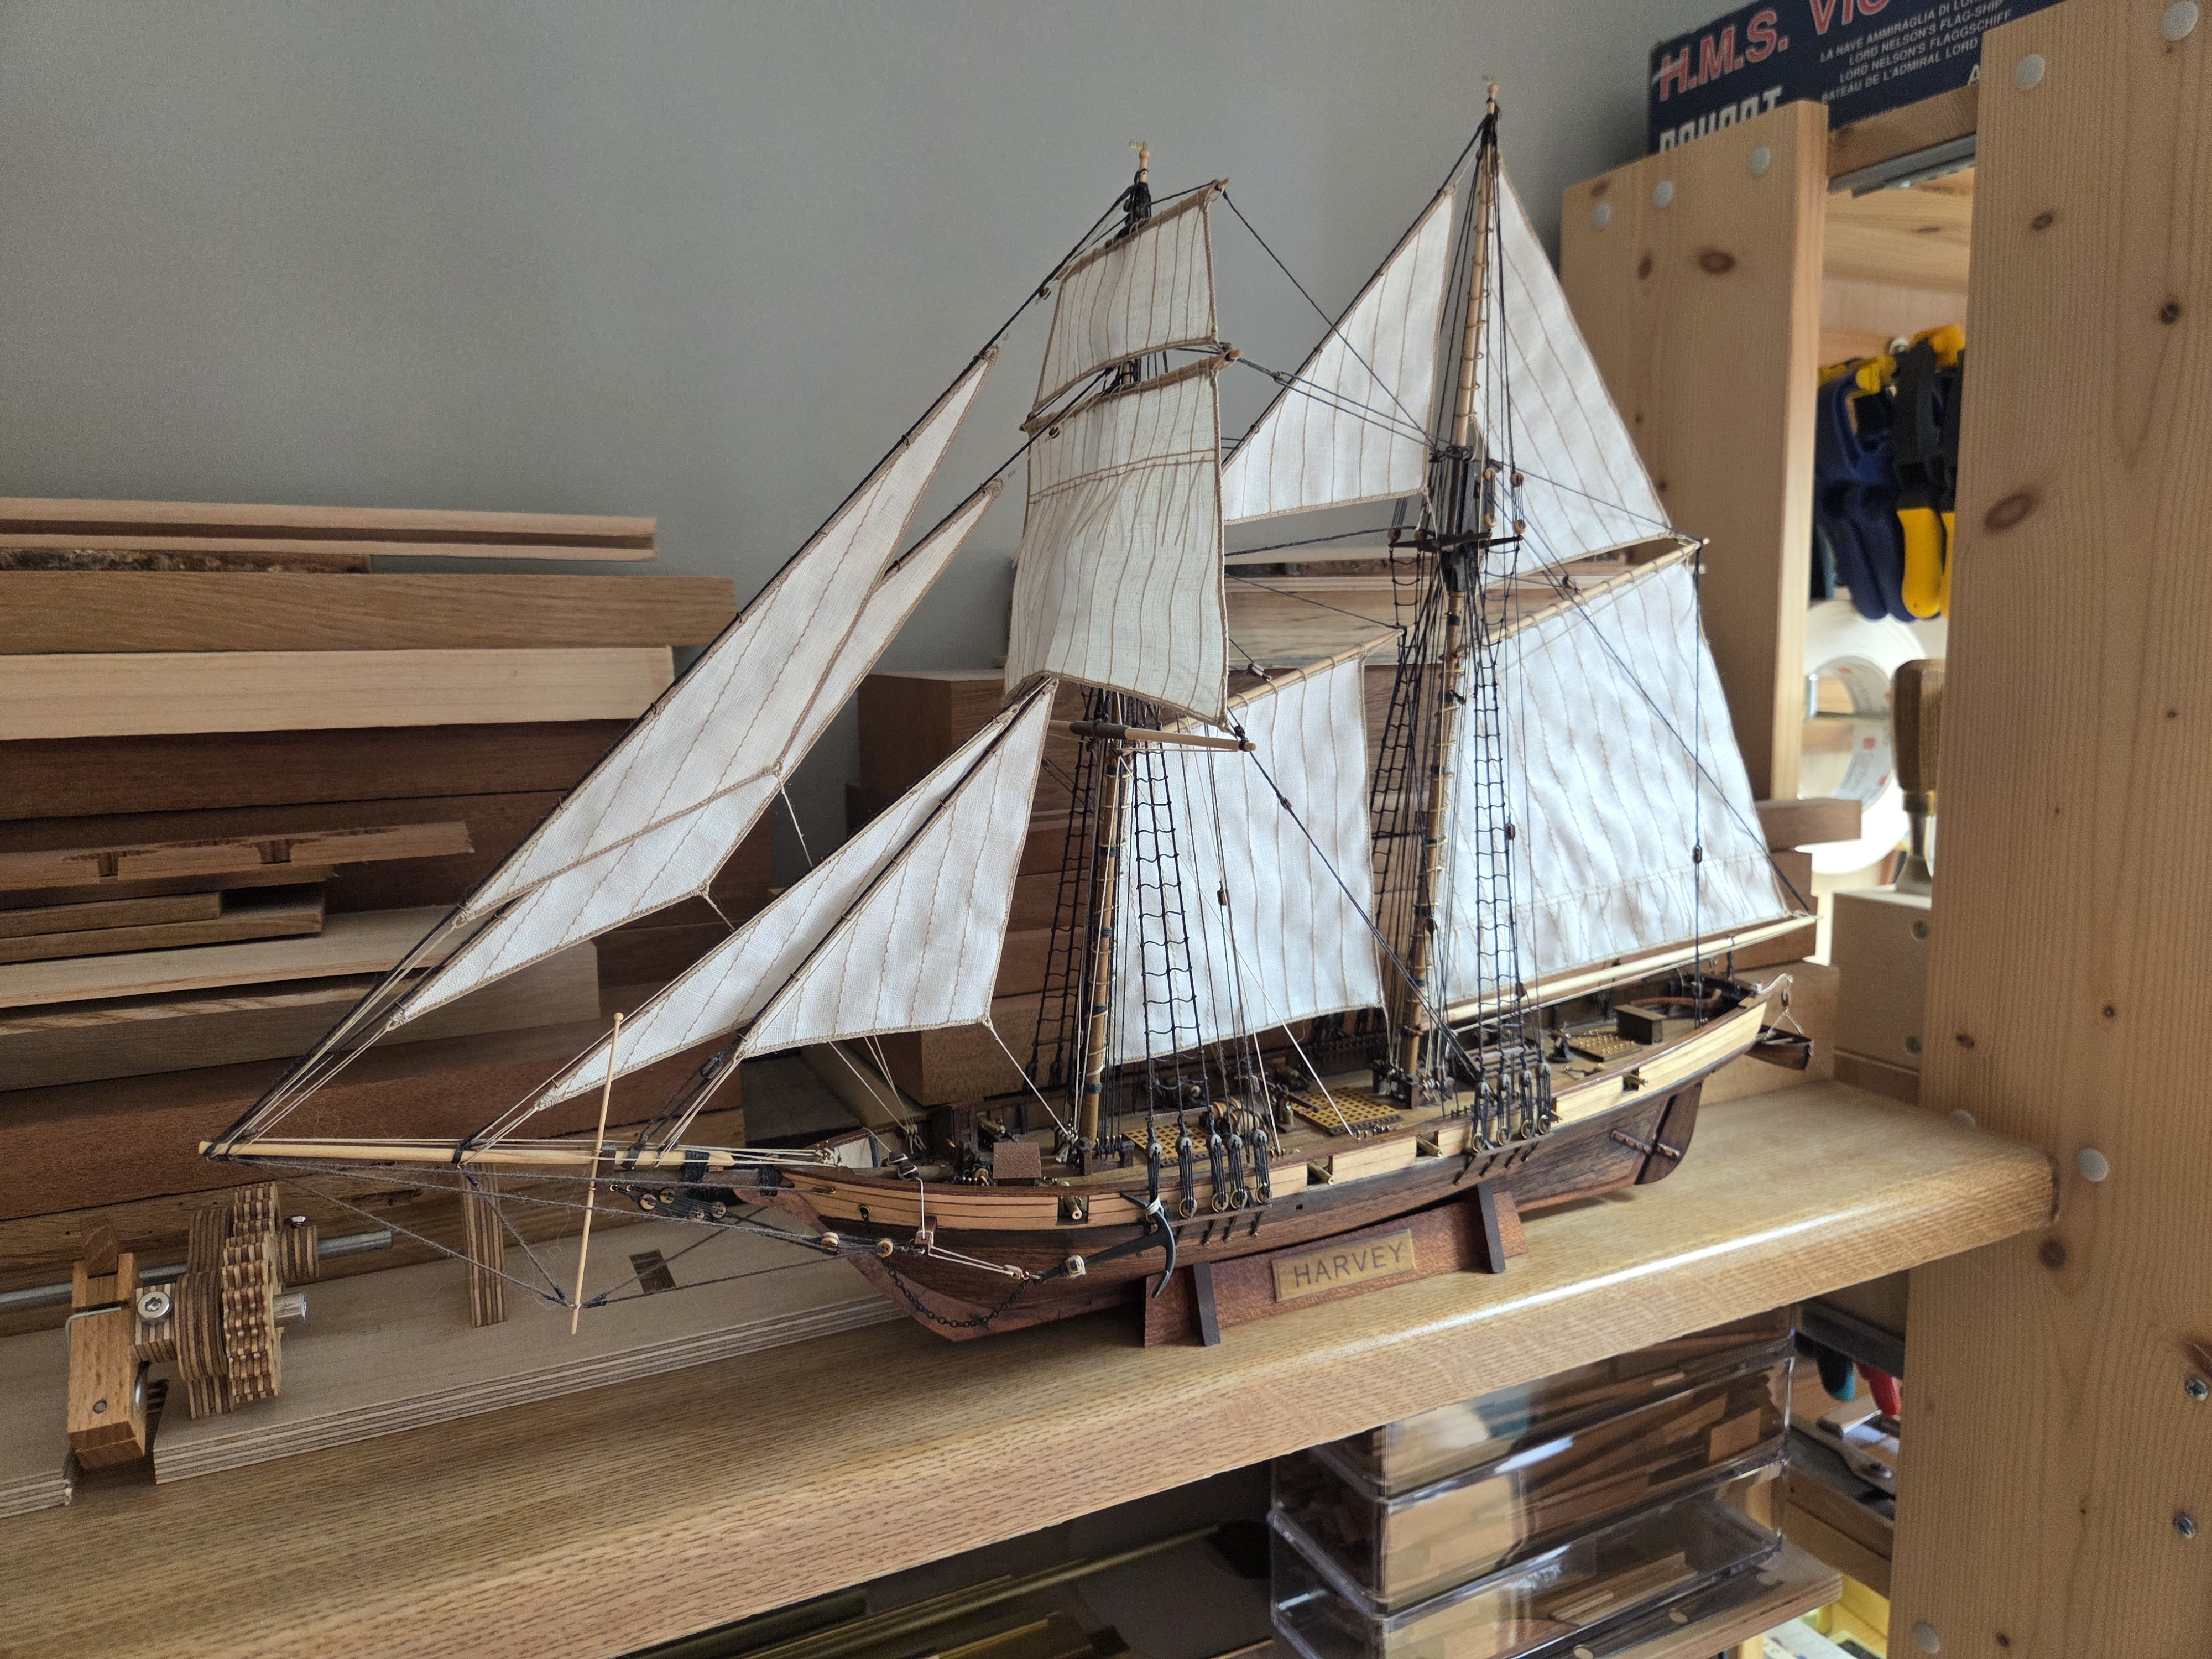
The hull is the part everyone photographs, but the rigging is the part that decides whether a model reads as a ship or as a nicely finished piece of woodwork. It is also where the most hours go, and where bought cord lets a model down fastest.
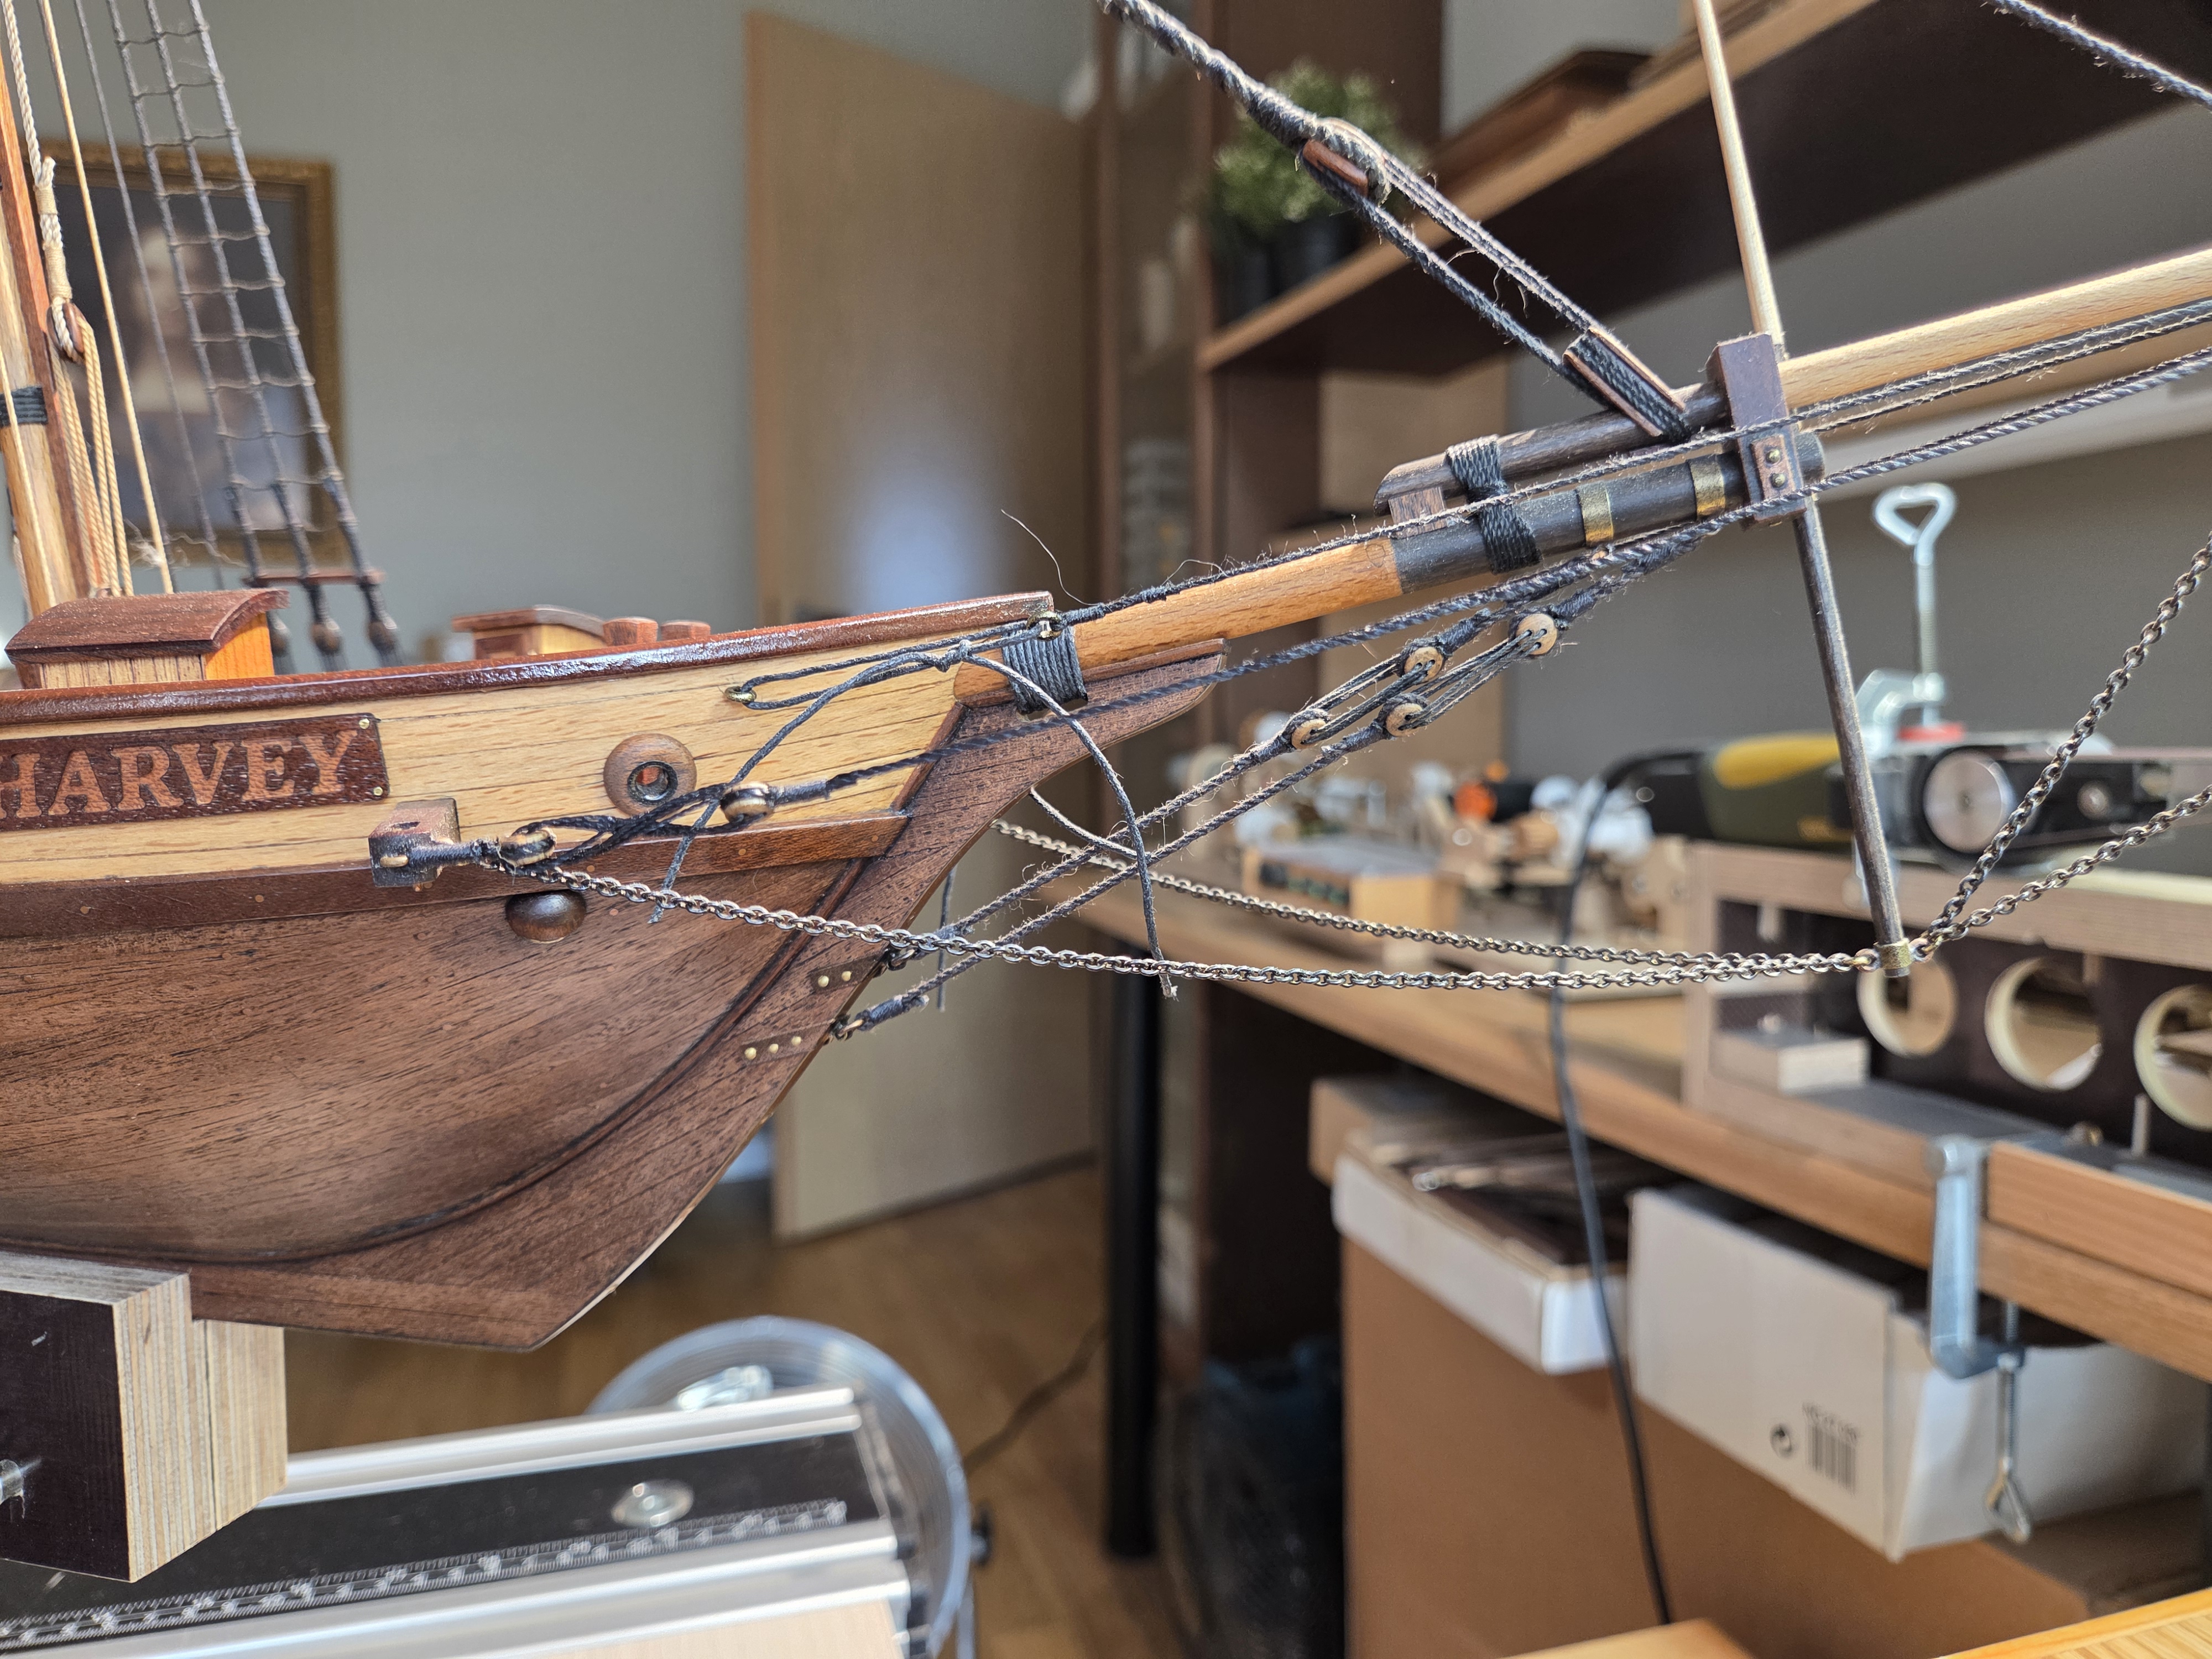
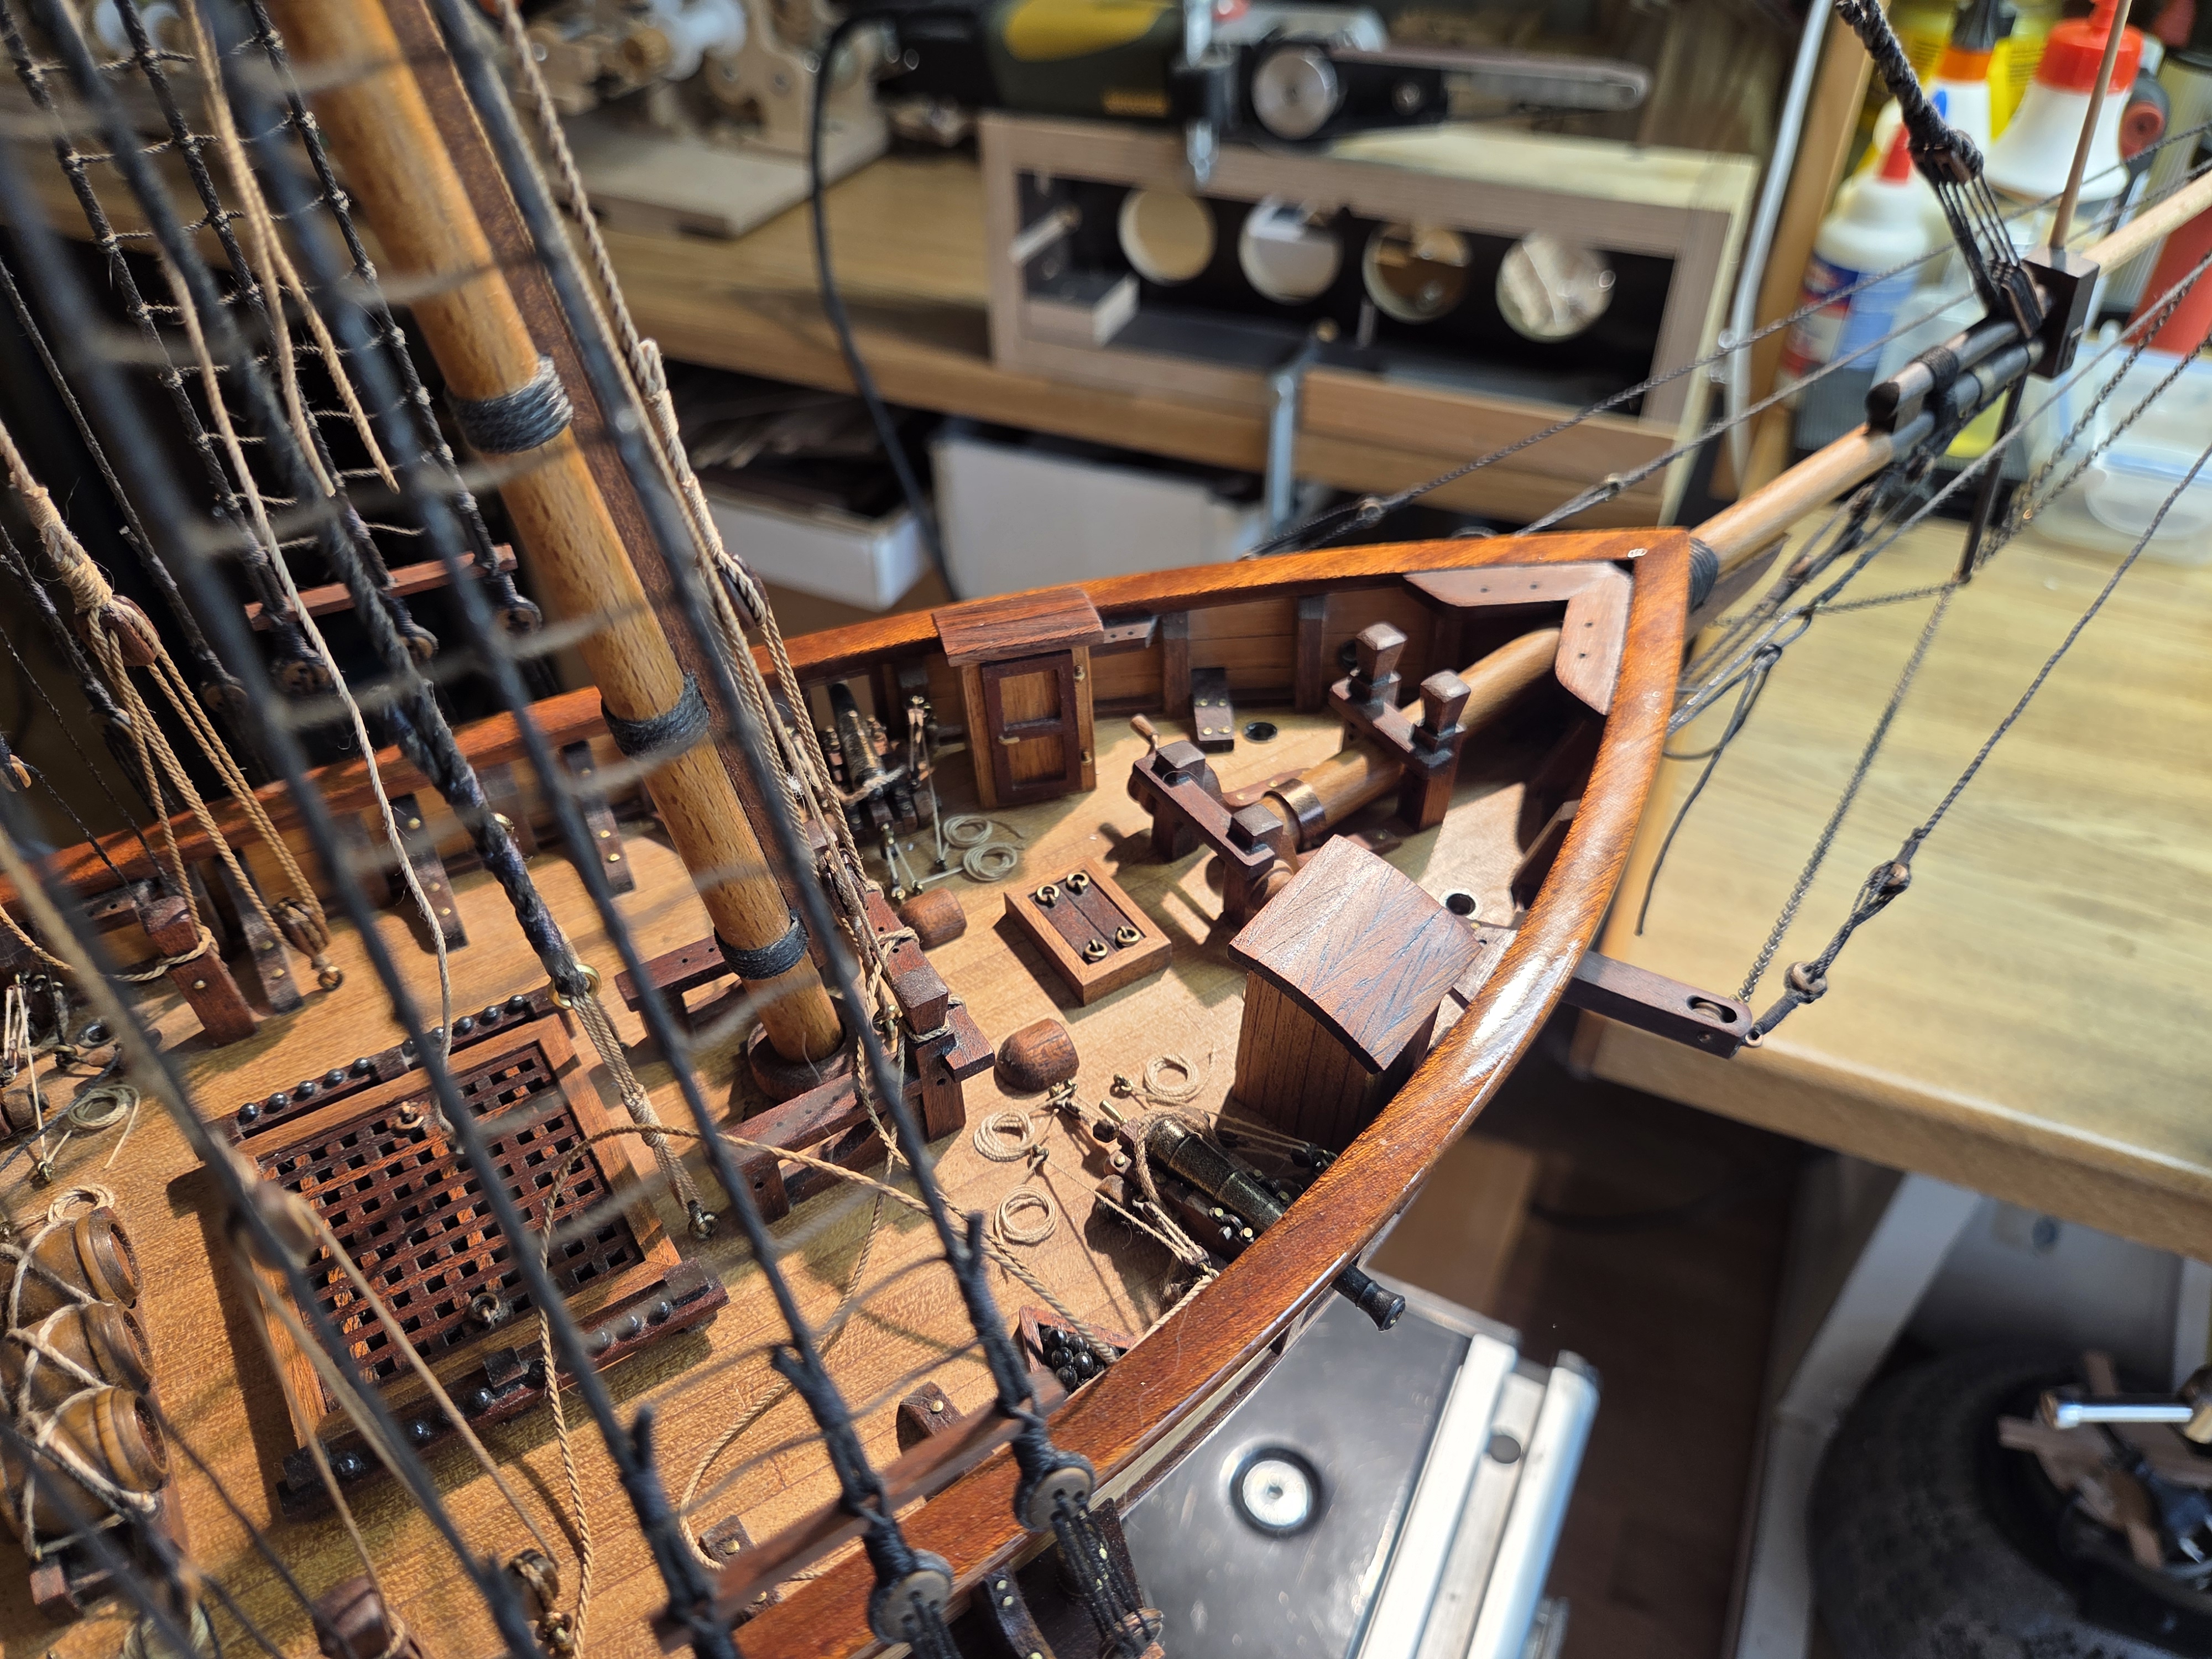
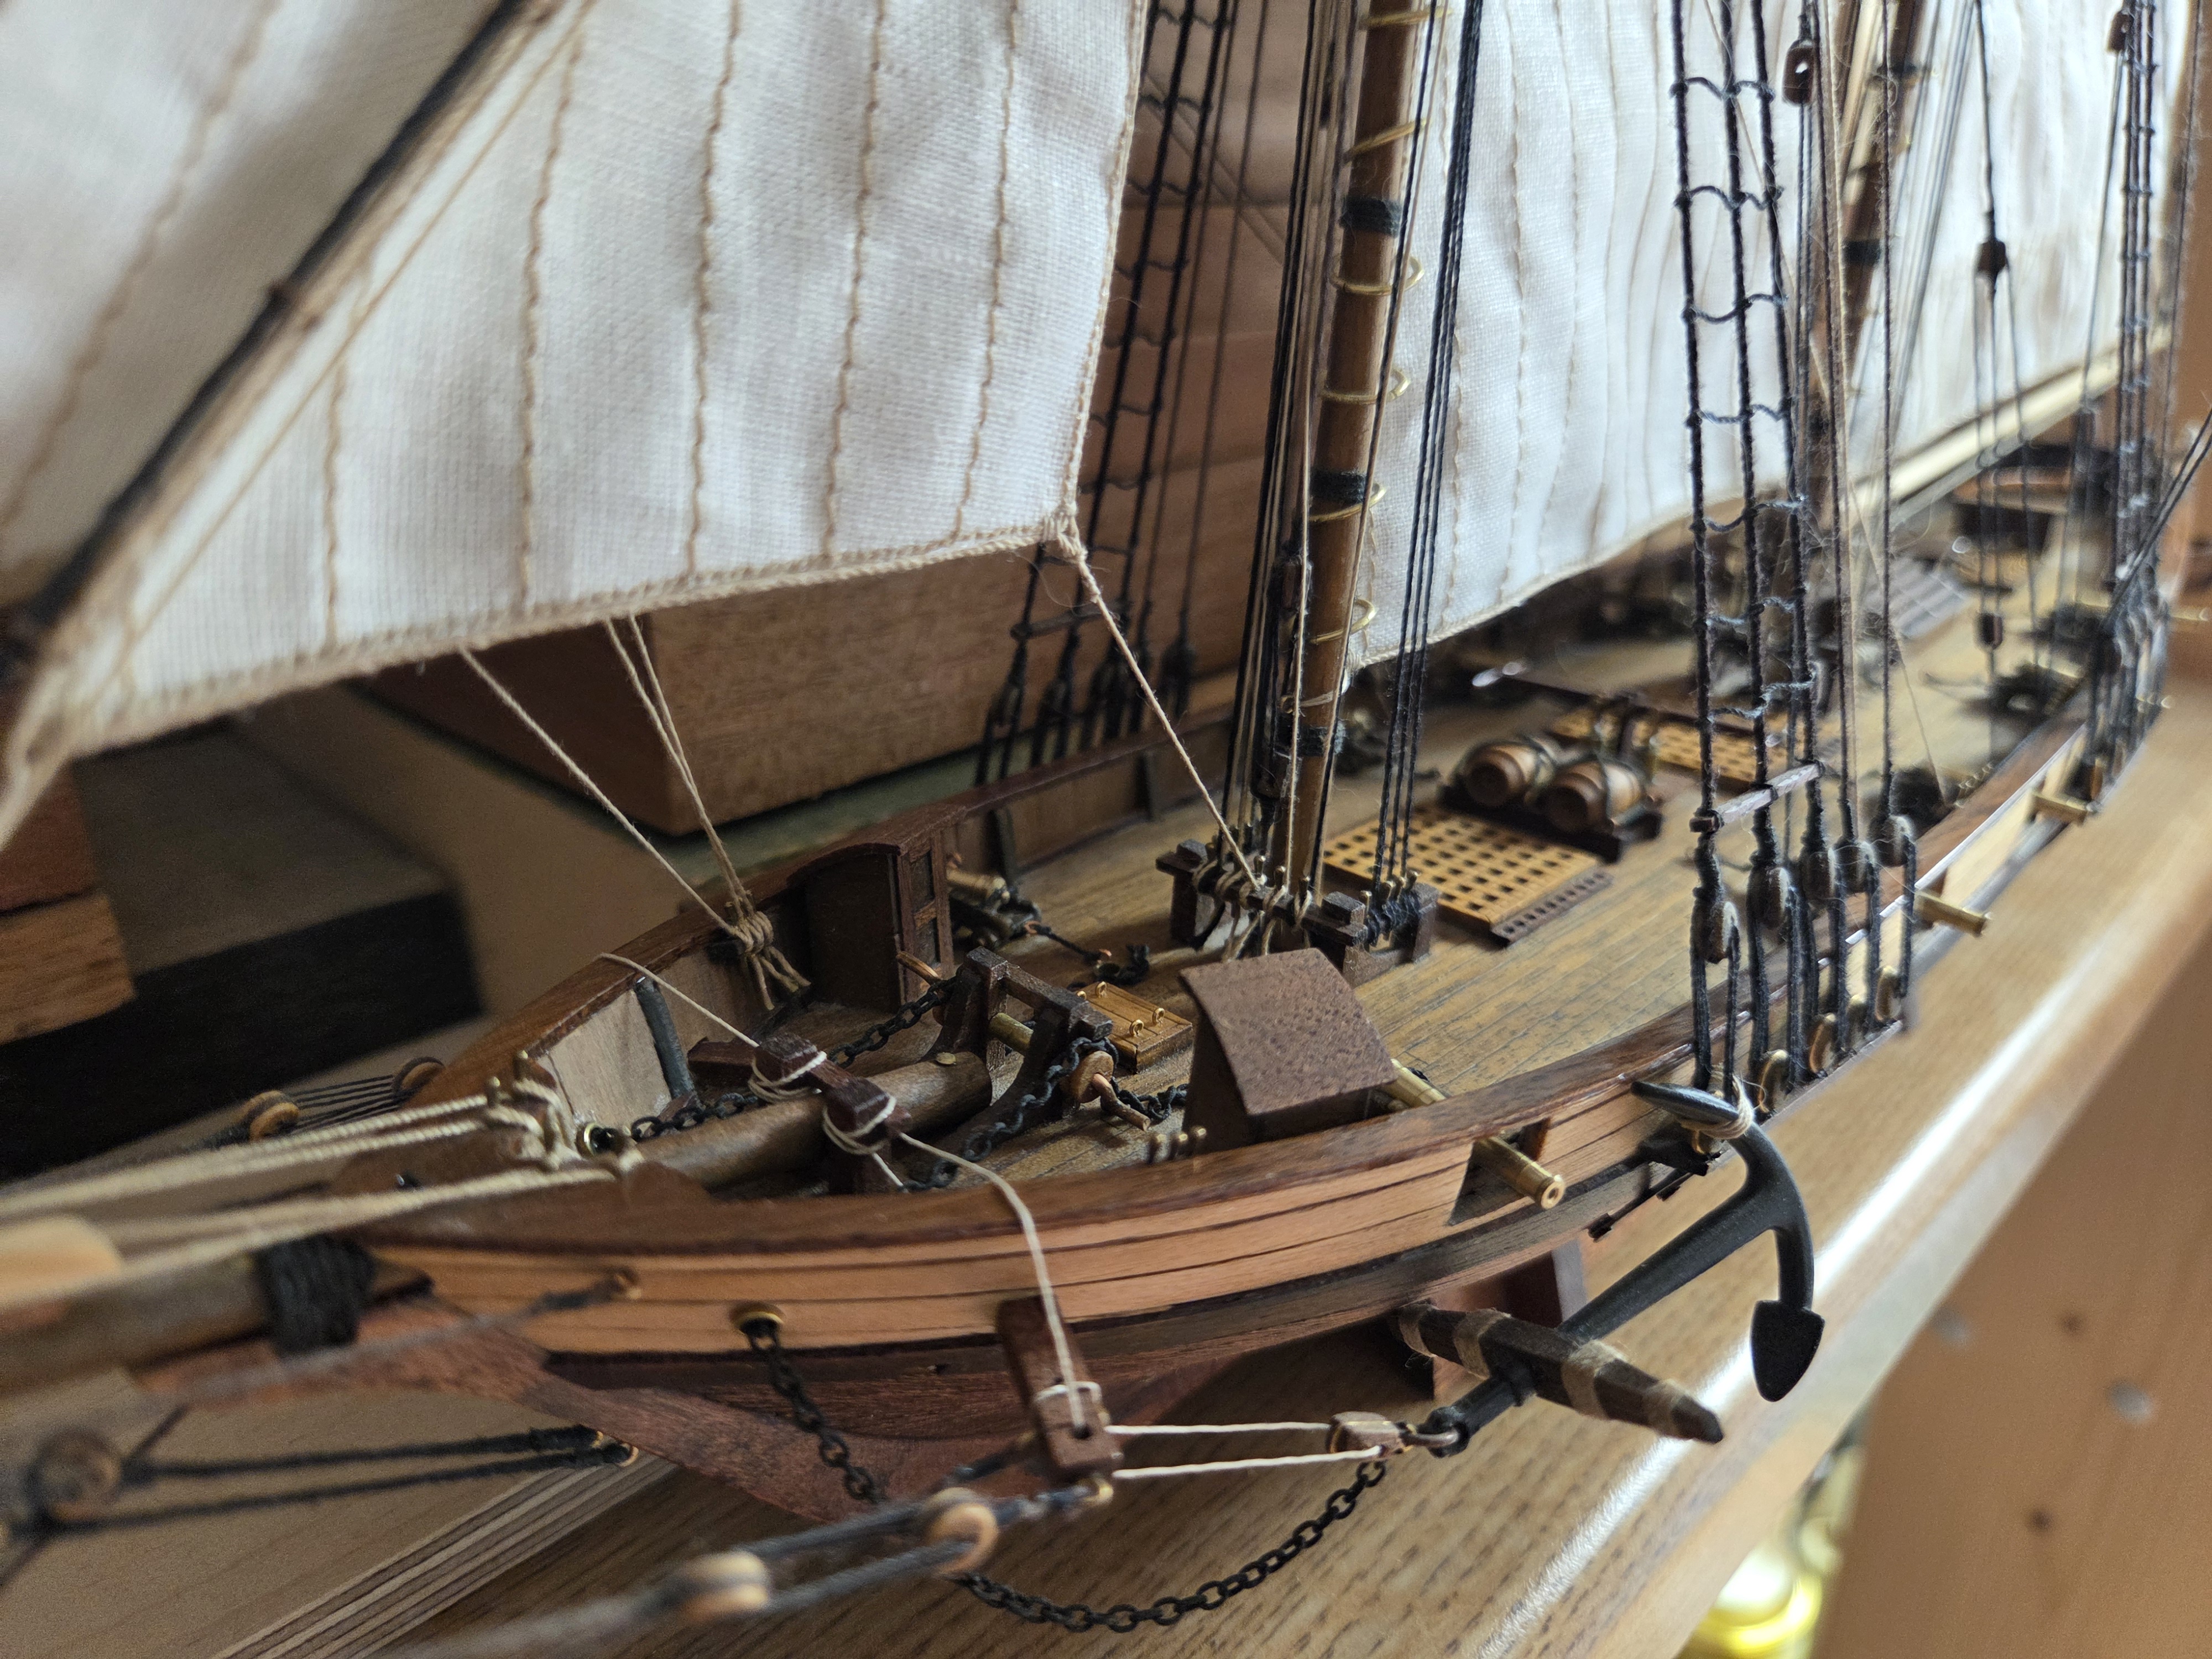
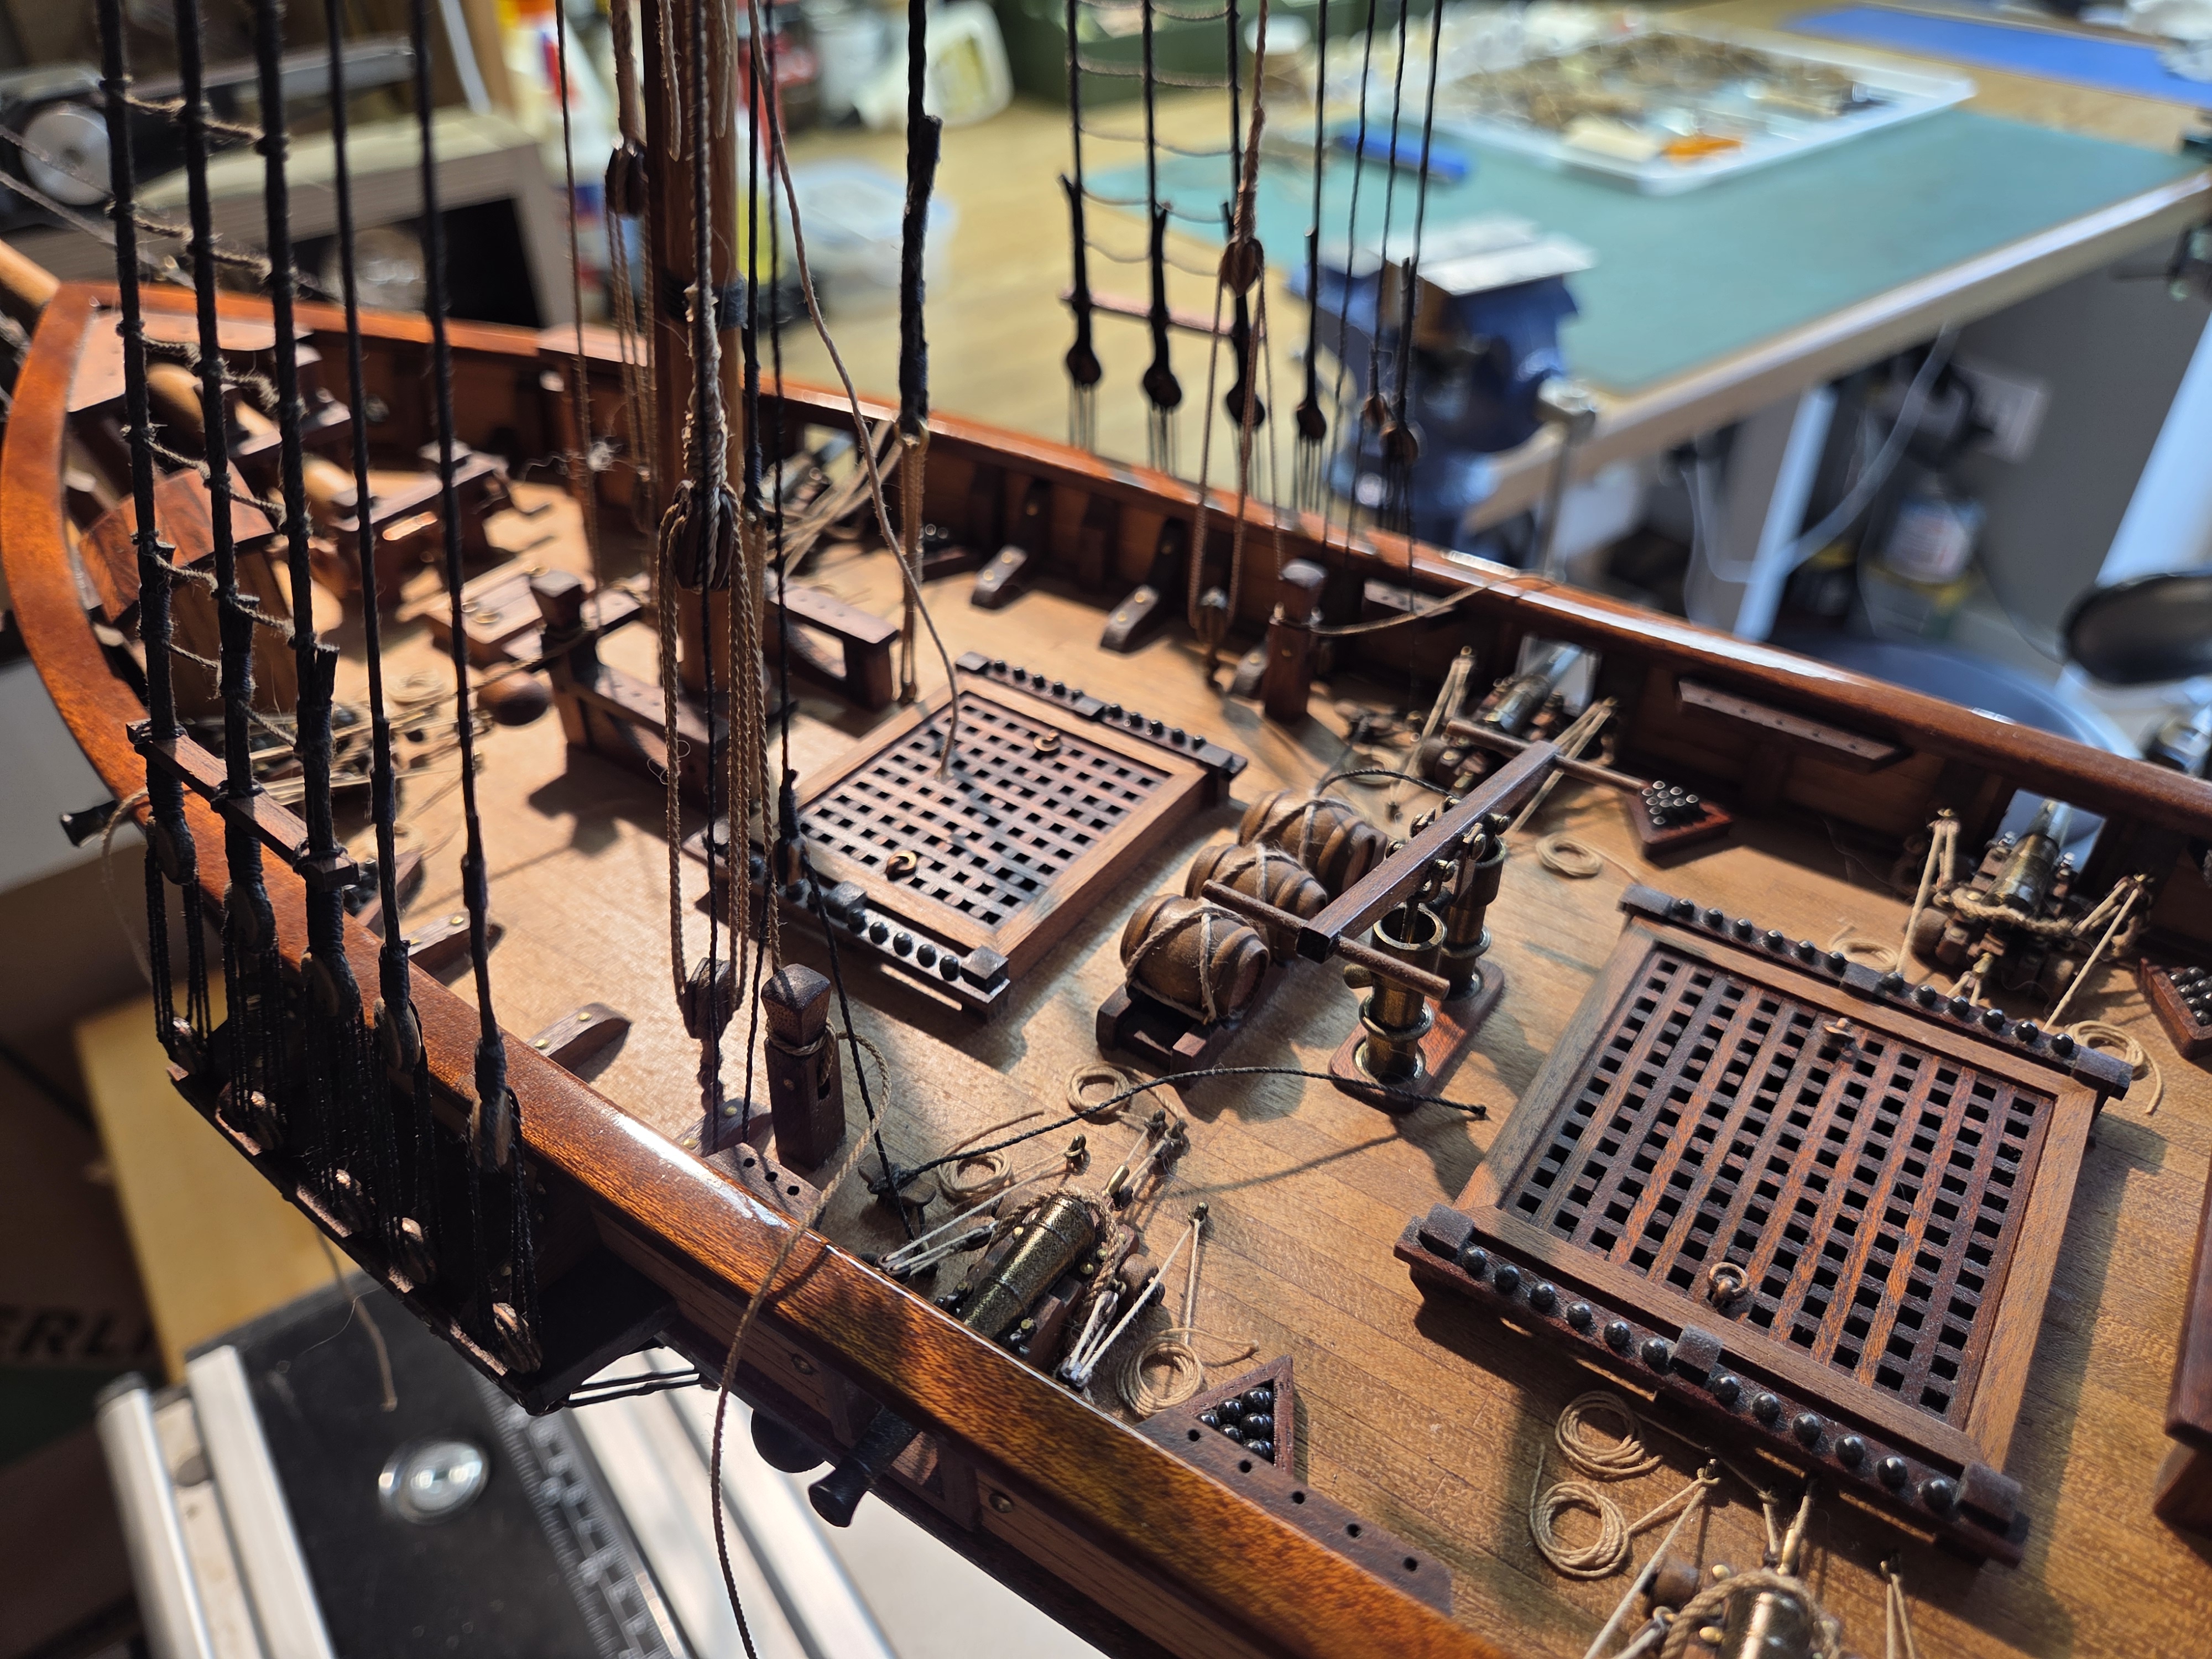
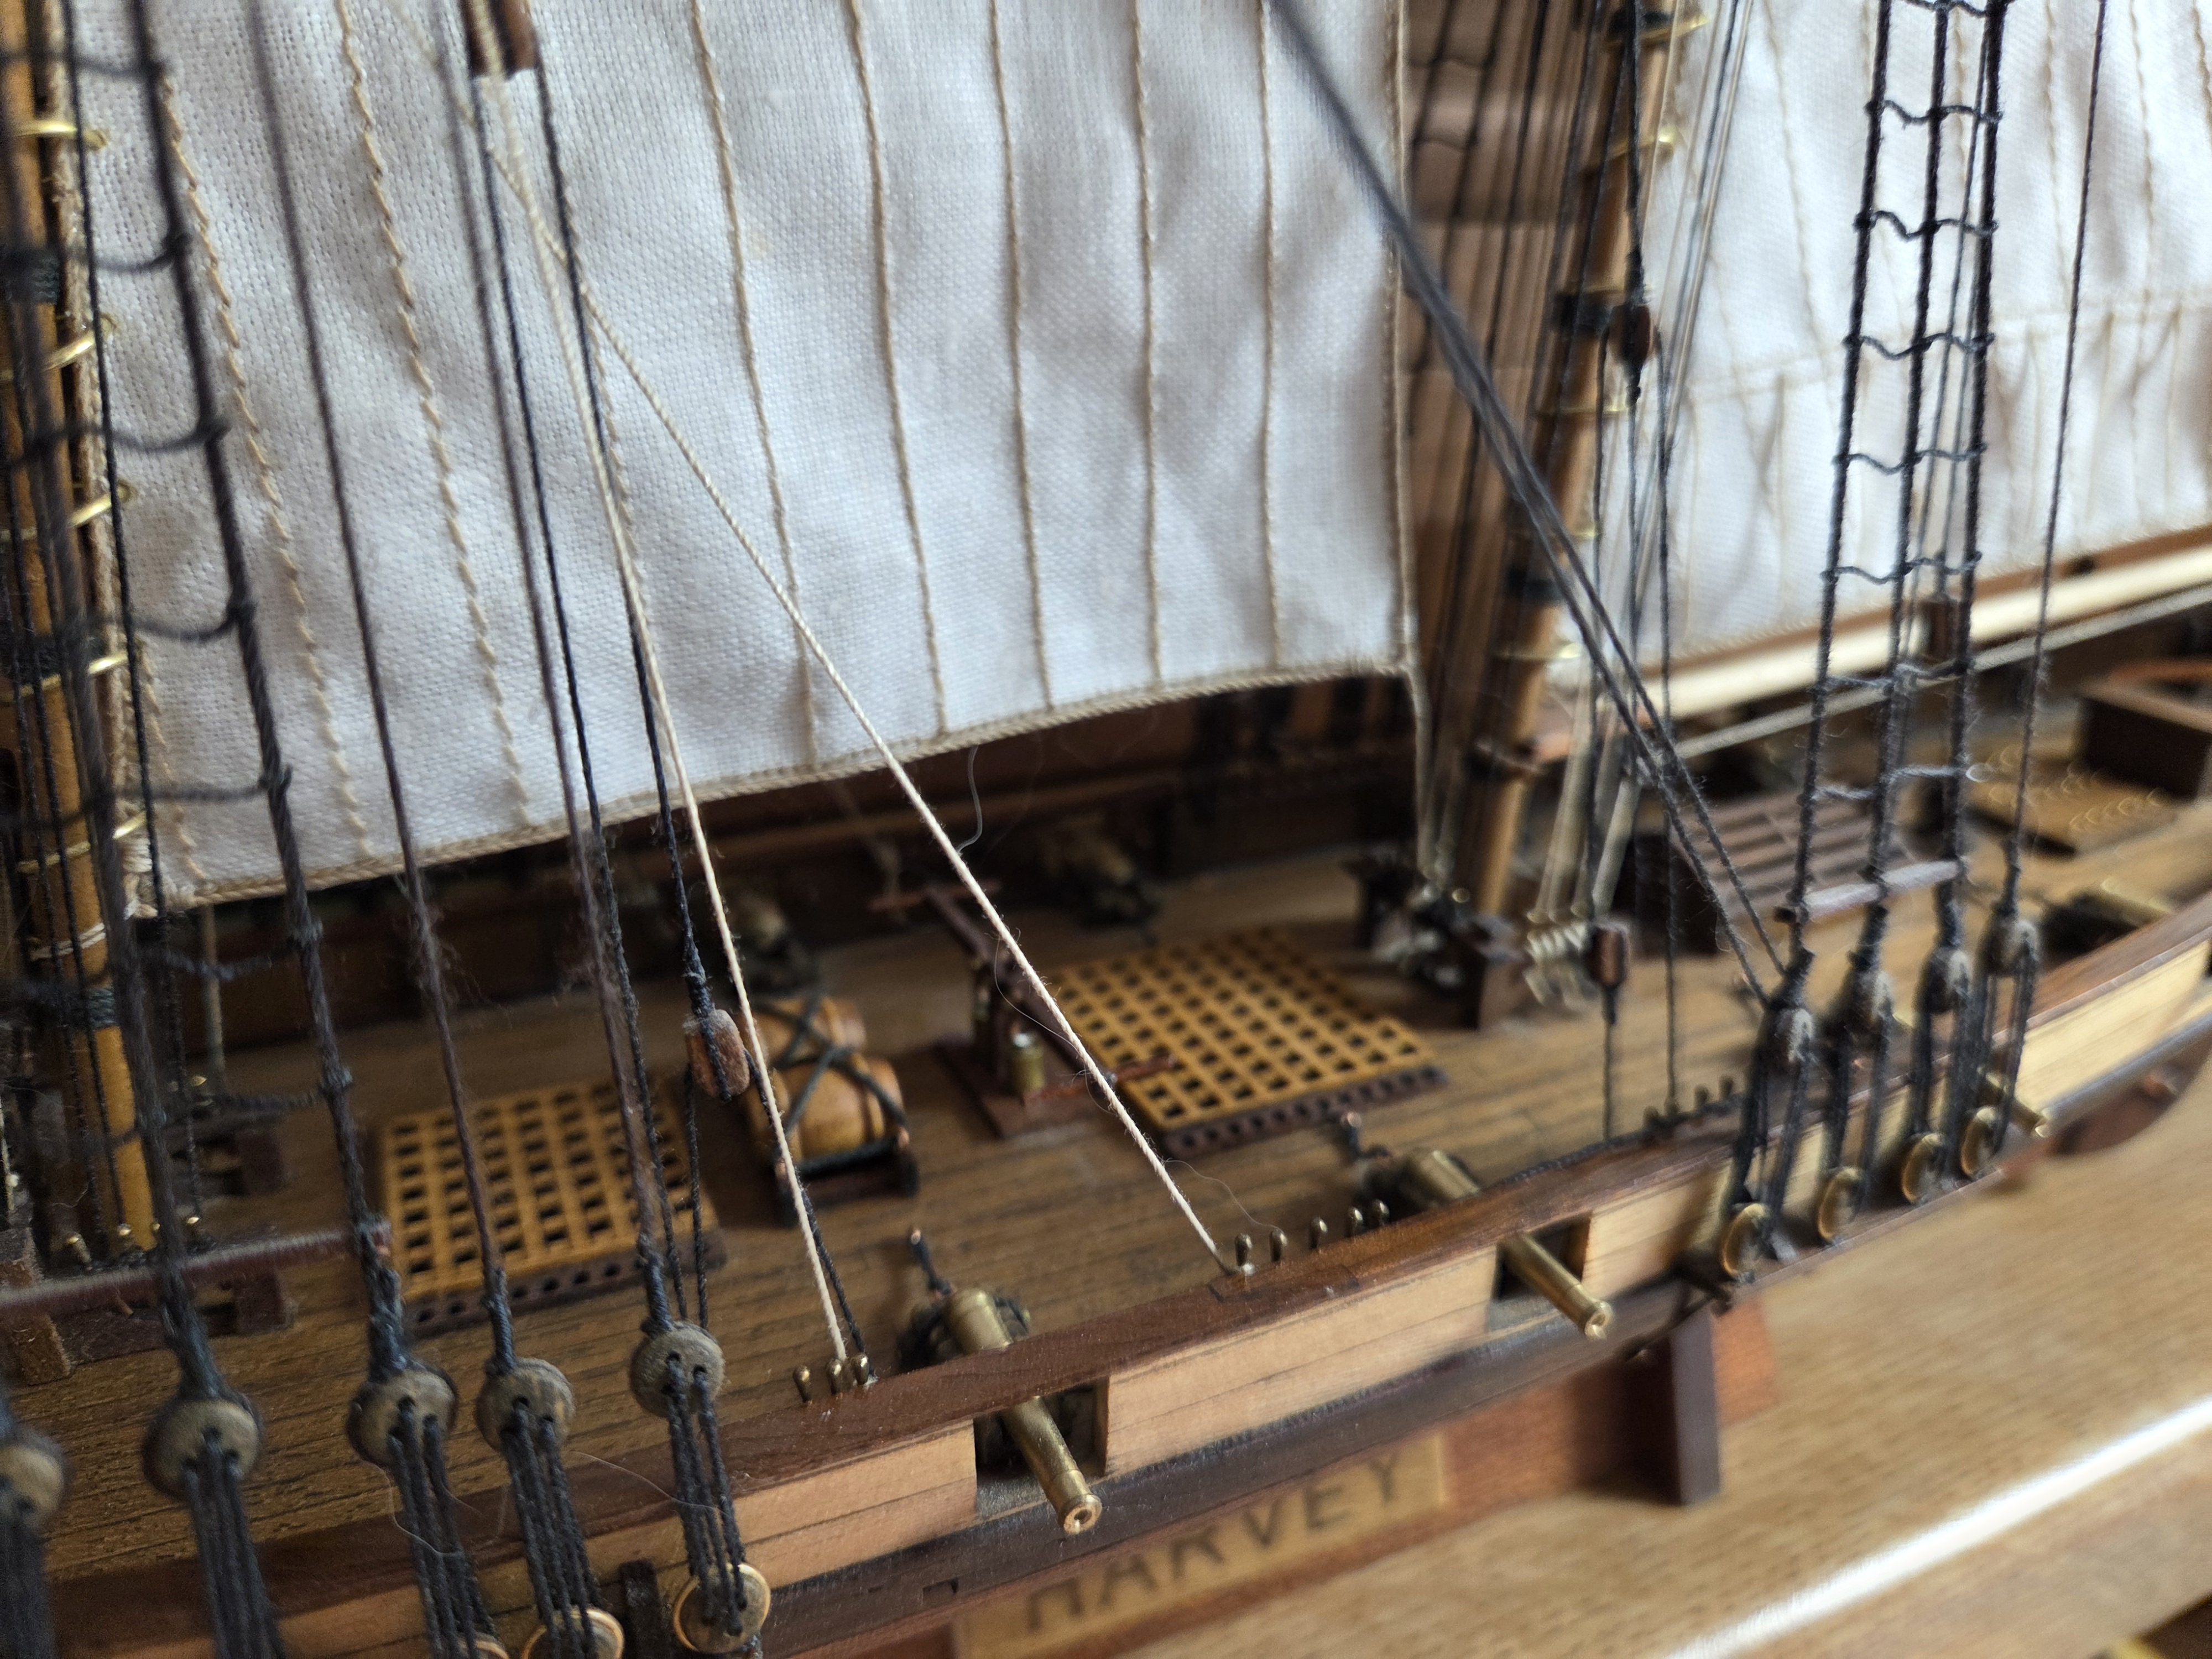
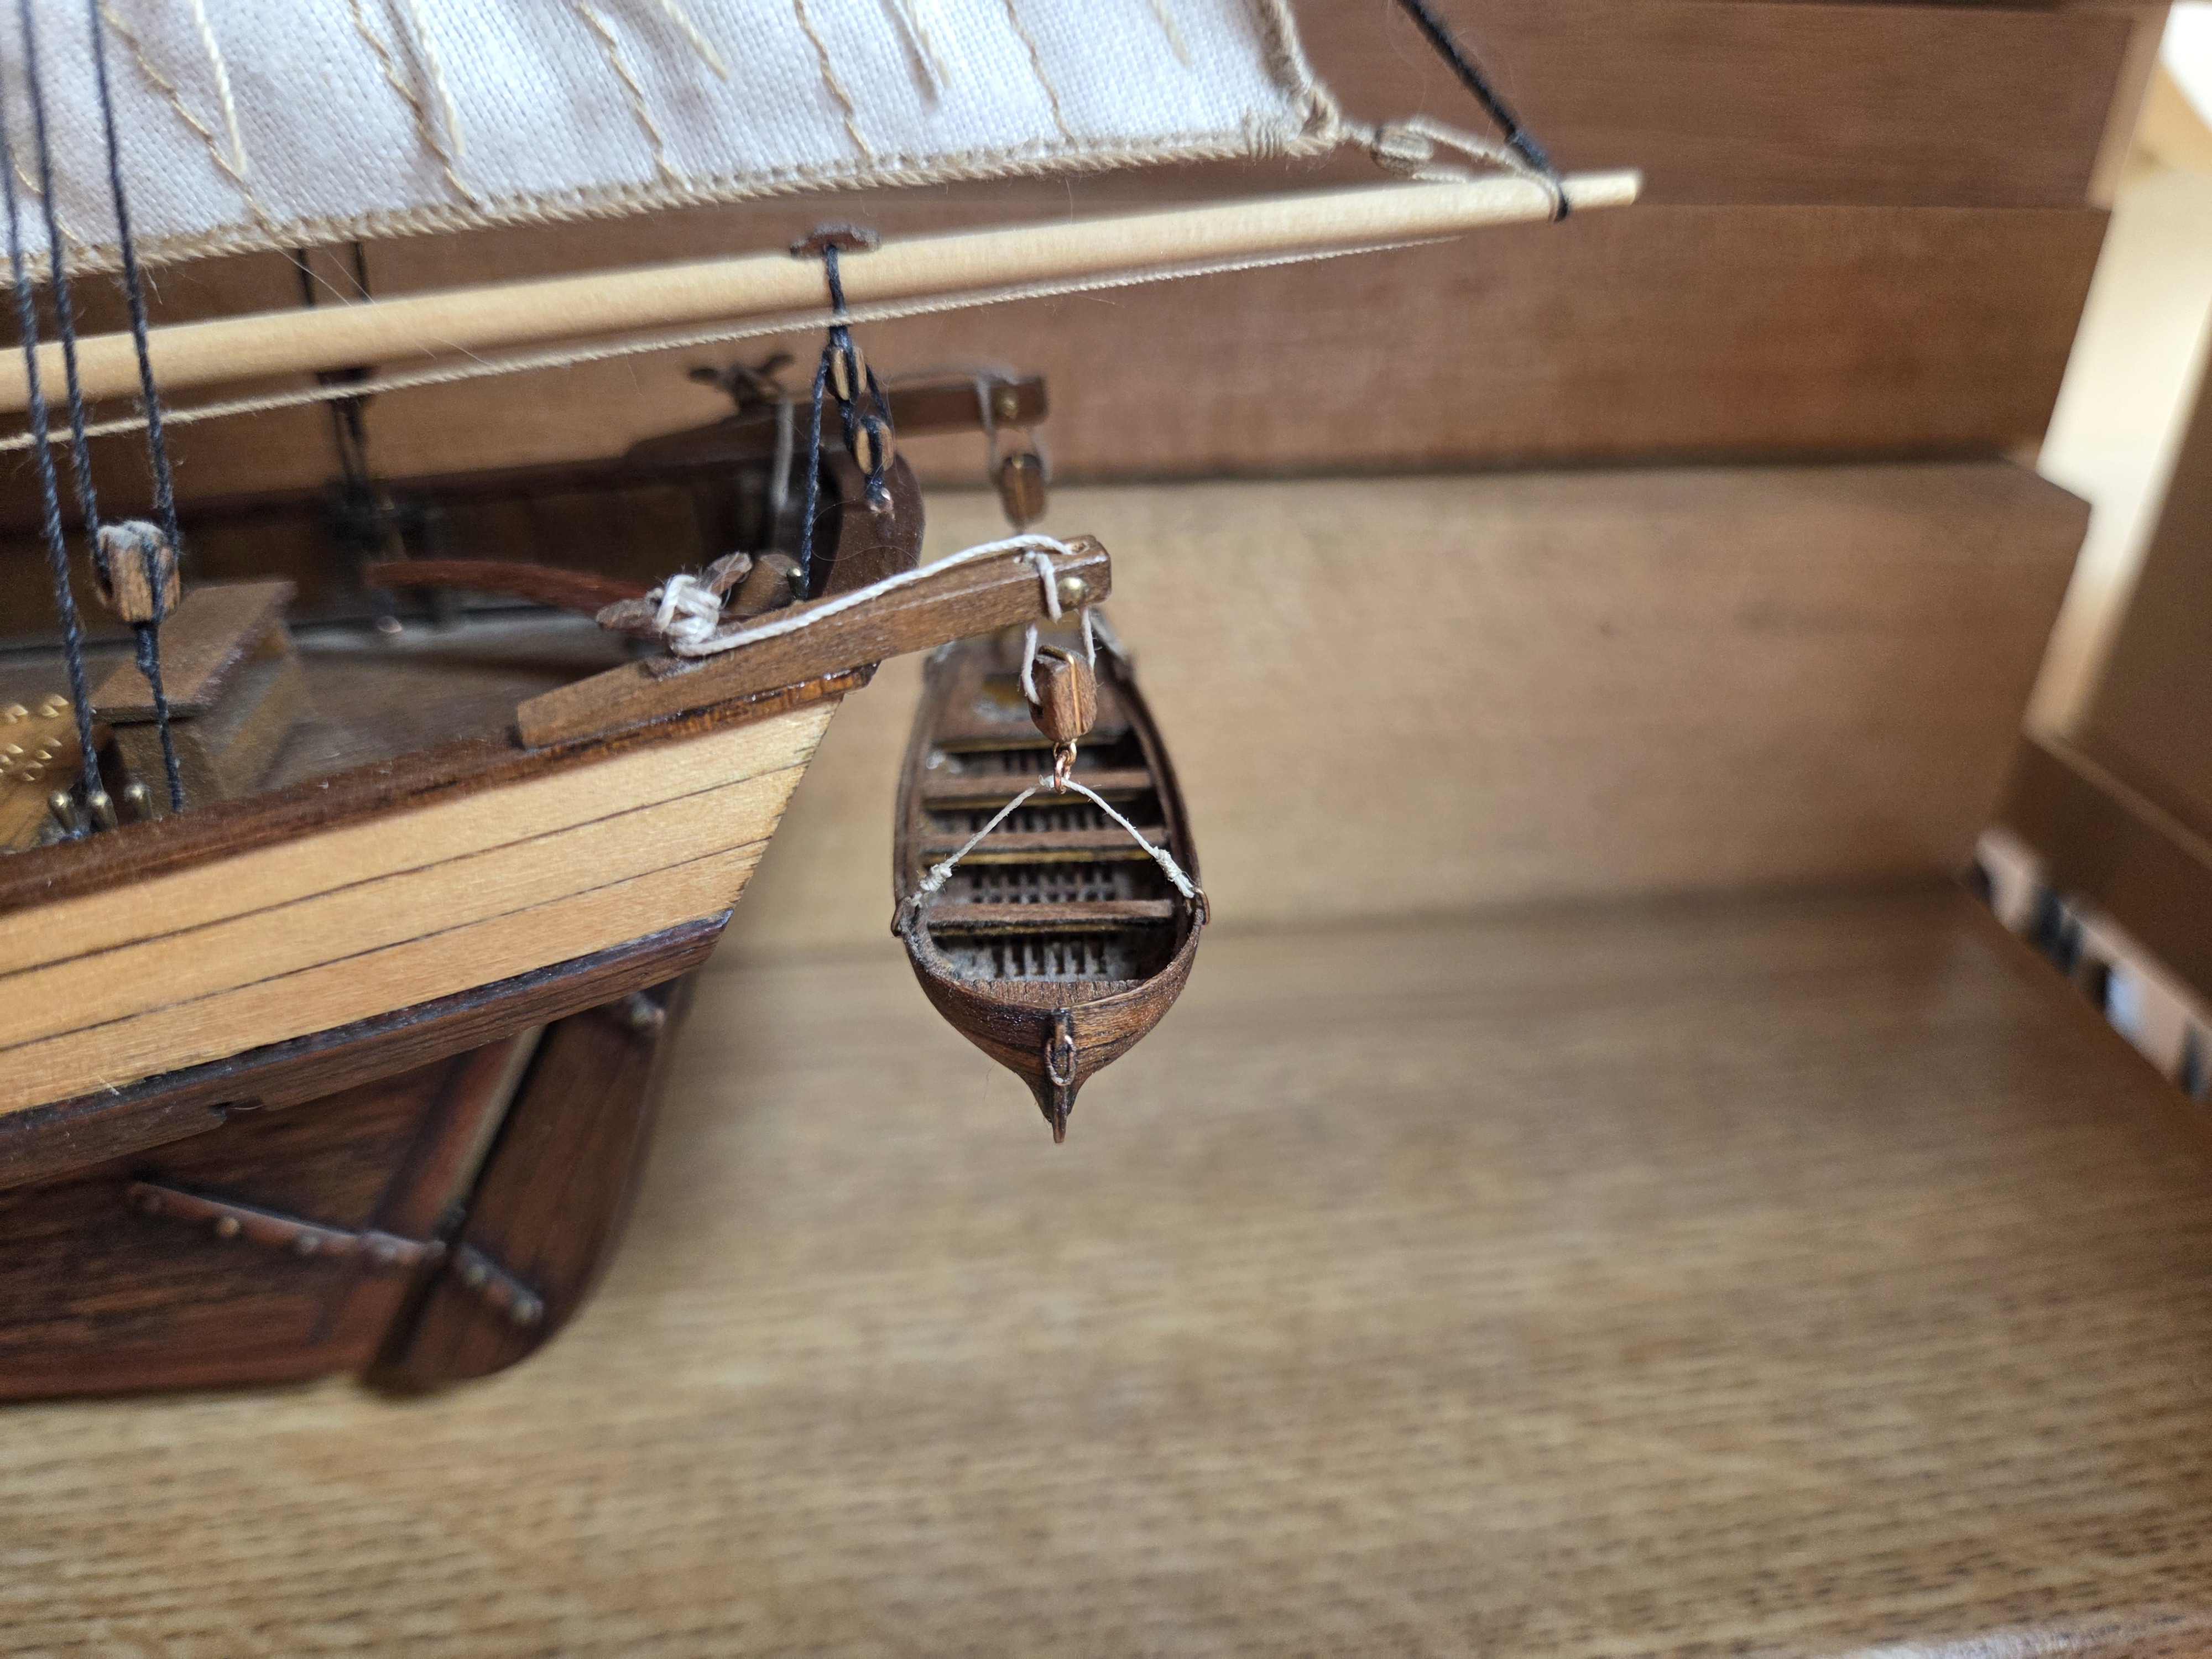
This is the Harvey, a two-masted schooner with square topsails on the fore. Every line on her — standing and running, down to the falls on the ship's boat — was laid on the bench from ordinary thread.
Standing rigging first
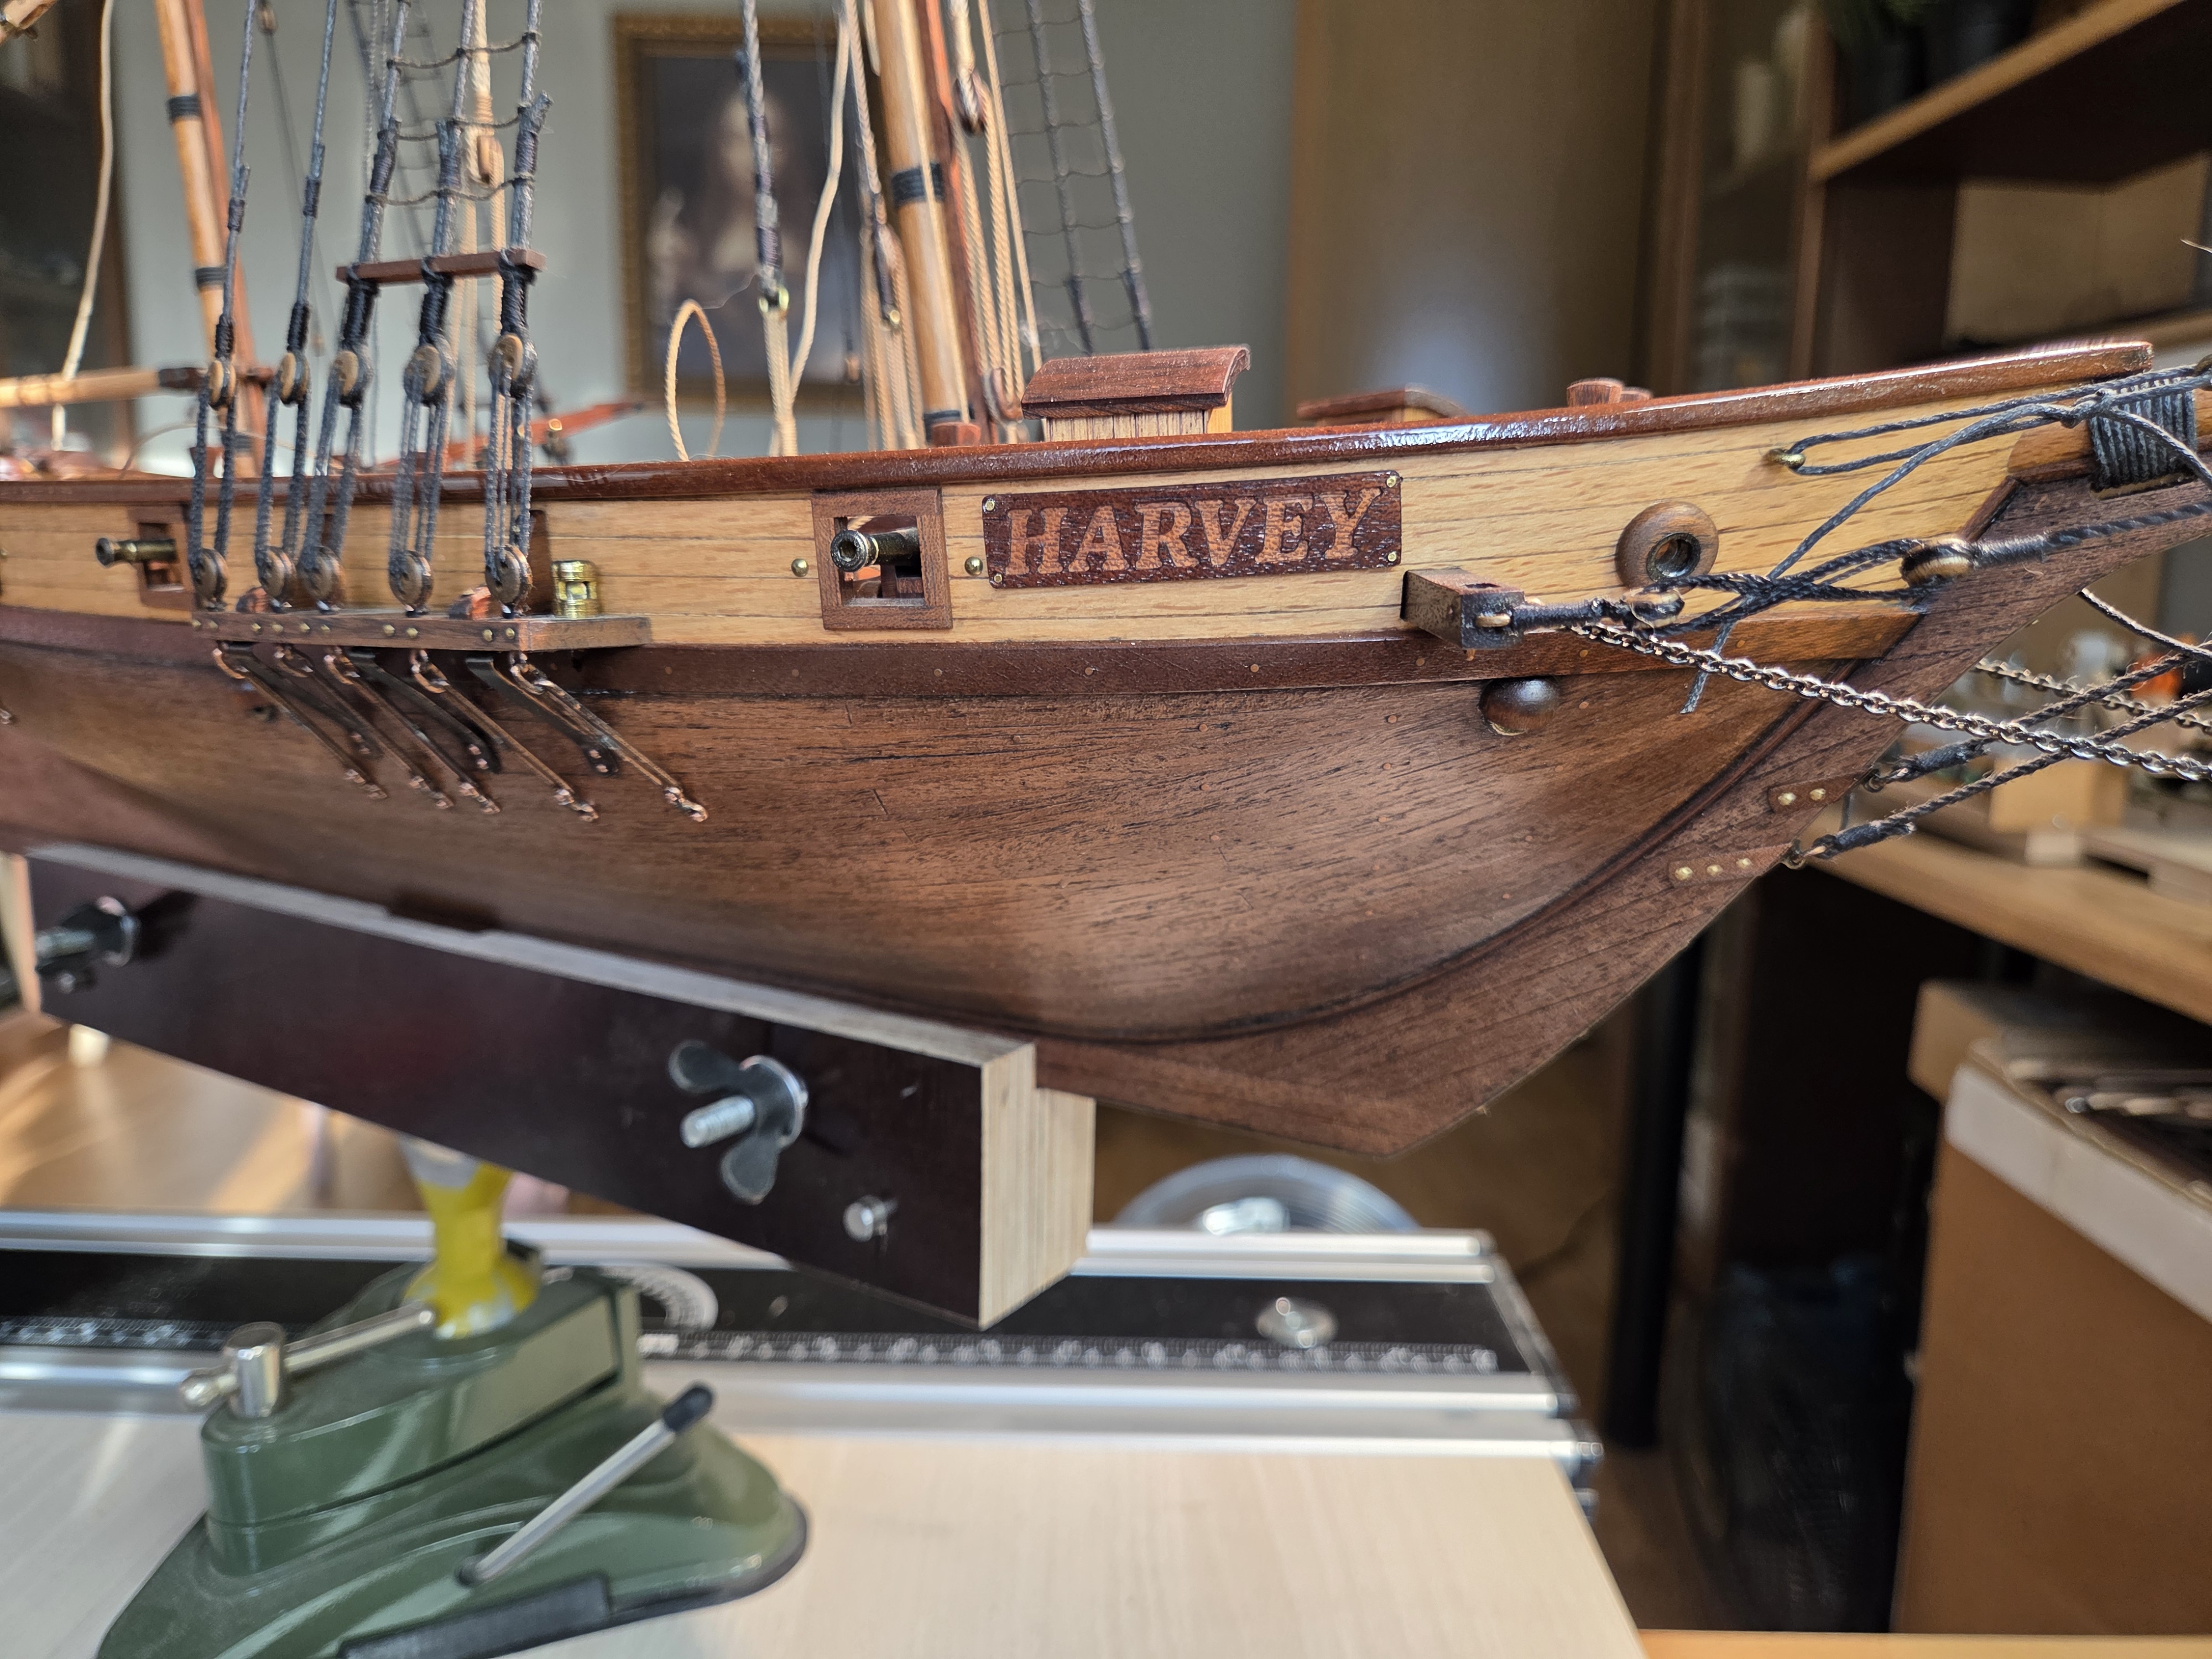
Standing rigging is the fixed part: the shrouds and stays that hold the masts up. It is set up before anything that moves, because once the running rigging is on you can no longer get your fingers into the channels.
Shrouds are the place where hand-made rope pays for itself immediately. They want to be visibly heavier than the running rigging — on the real ship they carried the whole load of the mast — and they want to be dark, because standing rigging was tarred. Bought cord tends to come in one size and one colour, so builders end up using the same line for everything and the model loses its sense of scale.
The deadeyes are set up in pairs and the lanyards rove between them. At this size the lanyard is one of the finest lines on the tray, and it has to be fine, or the deadeyes will not sit square.
Ratlines, one at a time
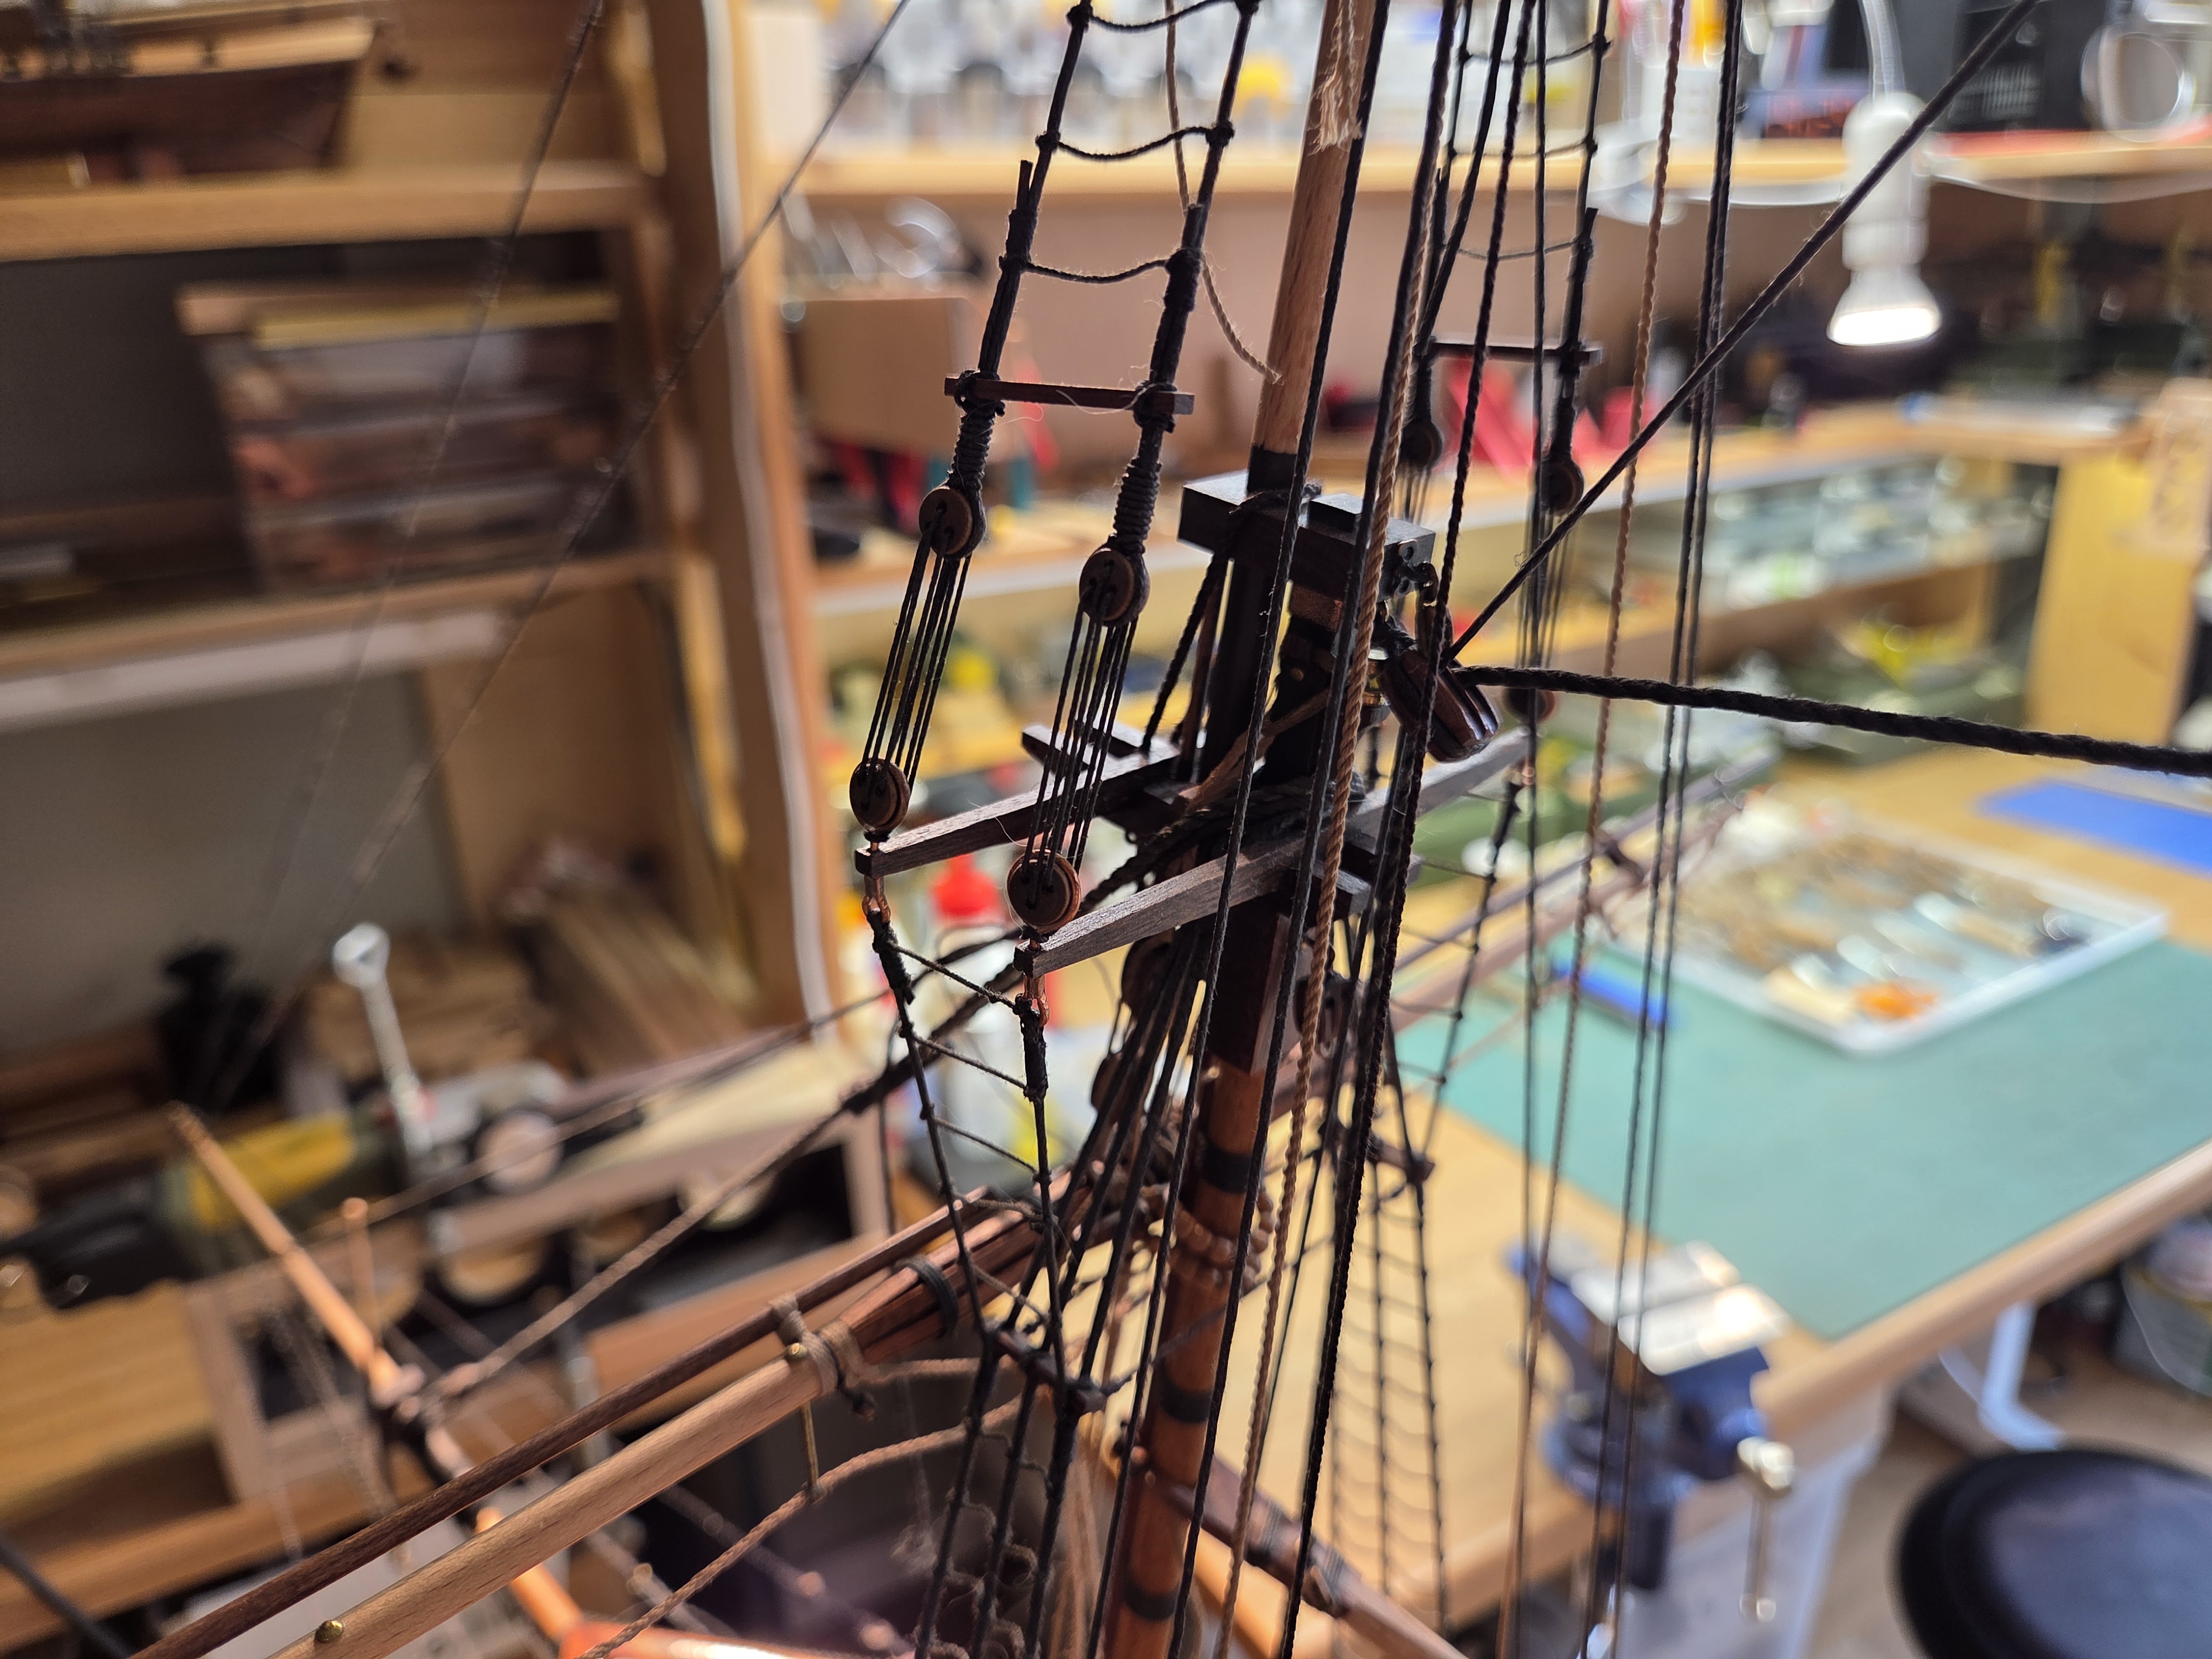
Ratlines are the rungs across the shrouds, and there is no shortcut: each one is a clove hitch on every shroud it crosses, tied and then persuaded straight. On a schooner there are fewer than on a first-rate, which is a mercy.
Two things make the difference between ratlines that look right and ratlines that look like a net. The first is that they must be much finer than the shrouds they cross — this is the single most common mistake, and it is a rope problem, not a skill problem. The second is that they should sag very slightly. A ratline pulled drum-tight looks like wire.
Running rigging, and everything it touches
Running rigging is the part that worked: halyards, sheets, braces, anything that ran through a block. It is lighter than the standing rigging and, on most ships, left untarred, so it sits several shades paler. Having both on the bench at once — same machine, different thread, different lay — is what makes a rigged model look like it has a scale to it.
Then there are the details that are not really rigging at all but are made of the same stuff: the falls the ship's boat hangs from, the lashings on the spars, the coils dropped over the belaying pins. They take a few minutes each and they are what people lean in to look at.
Why lay your own
Making your own rope is not about saving money, though it does. It is about having the right diameter to hand at the moment you need it, in a colour that matches the rest of the ship, in a length that does not run out halfway along a mast. A model needs perhaps five or six different sizes to look correct. Buying five or six sizes of decent model cord costs more than the machine does, and you still cannot match them to each other.
If you are starting out, the guide to making scale rope covers the method, and choosing thicknesses covers what size goes where.