How to Make Scale Rope for Model Ships (By Hand vs. By Machine)
Every model-ship builder hits the same wall. You've planked the hull, rigged the masts, and now you need rope — dozens of lengths of it, in three or four thicknesses, all consistent. The thread you bought is flat and lifeless. Real rope is round, twisted, and has a slight spring to it. So how do you turn a spool of sewing thread into believable scale rigging?
Why flat thread looks wrong
Scale rigging on a real ship was three-strand twisted rope. Laid flat, thread has no roundness and catches light differently from real cordage. Under a magnifier the difference is obvious: real rope has a visible helix; thread is a smooth ribbon. The fix is to twist the strands together so they lock into a round section.
The hand method (and why it's slow)
The traditional approach is to twist two or three strands of thread with your fingers or a pin chuck, then let them kink back on each other. It works for a single short length, but: - every length comes out a slightly different thickness; - it takes several minutes per piece, and a full-rigged ship needs hundreds; - it's easy to over-twist and have the rope curl or snarl.
For a single deadeye span it's fine. For a whole ship, it becomes the job you never finish.
The rope-making machine method
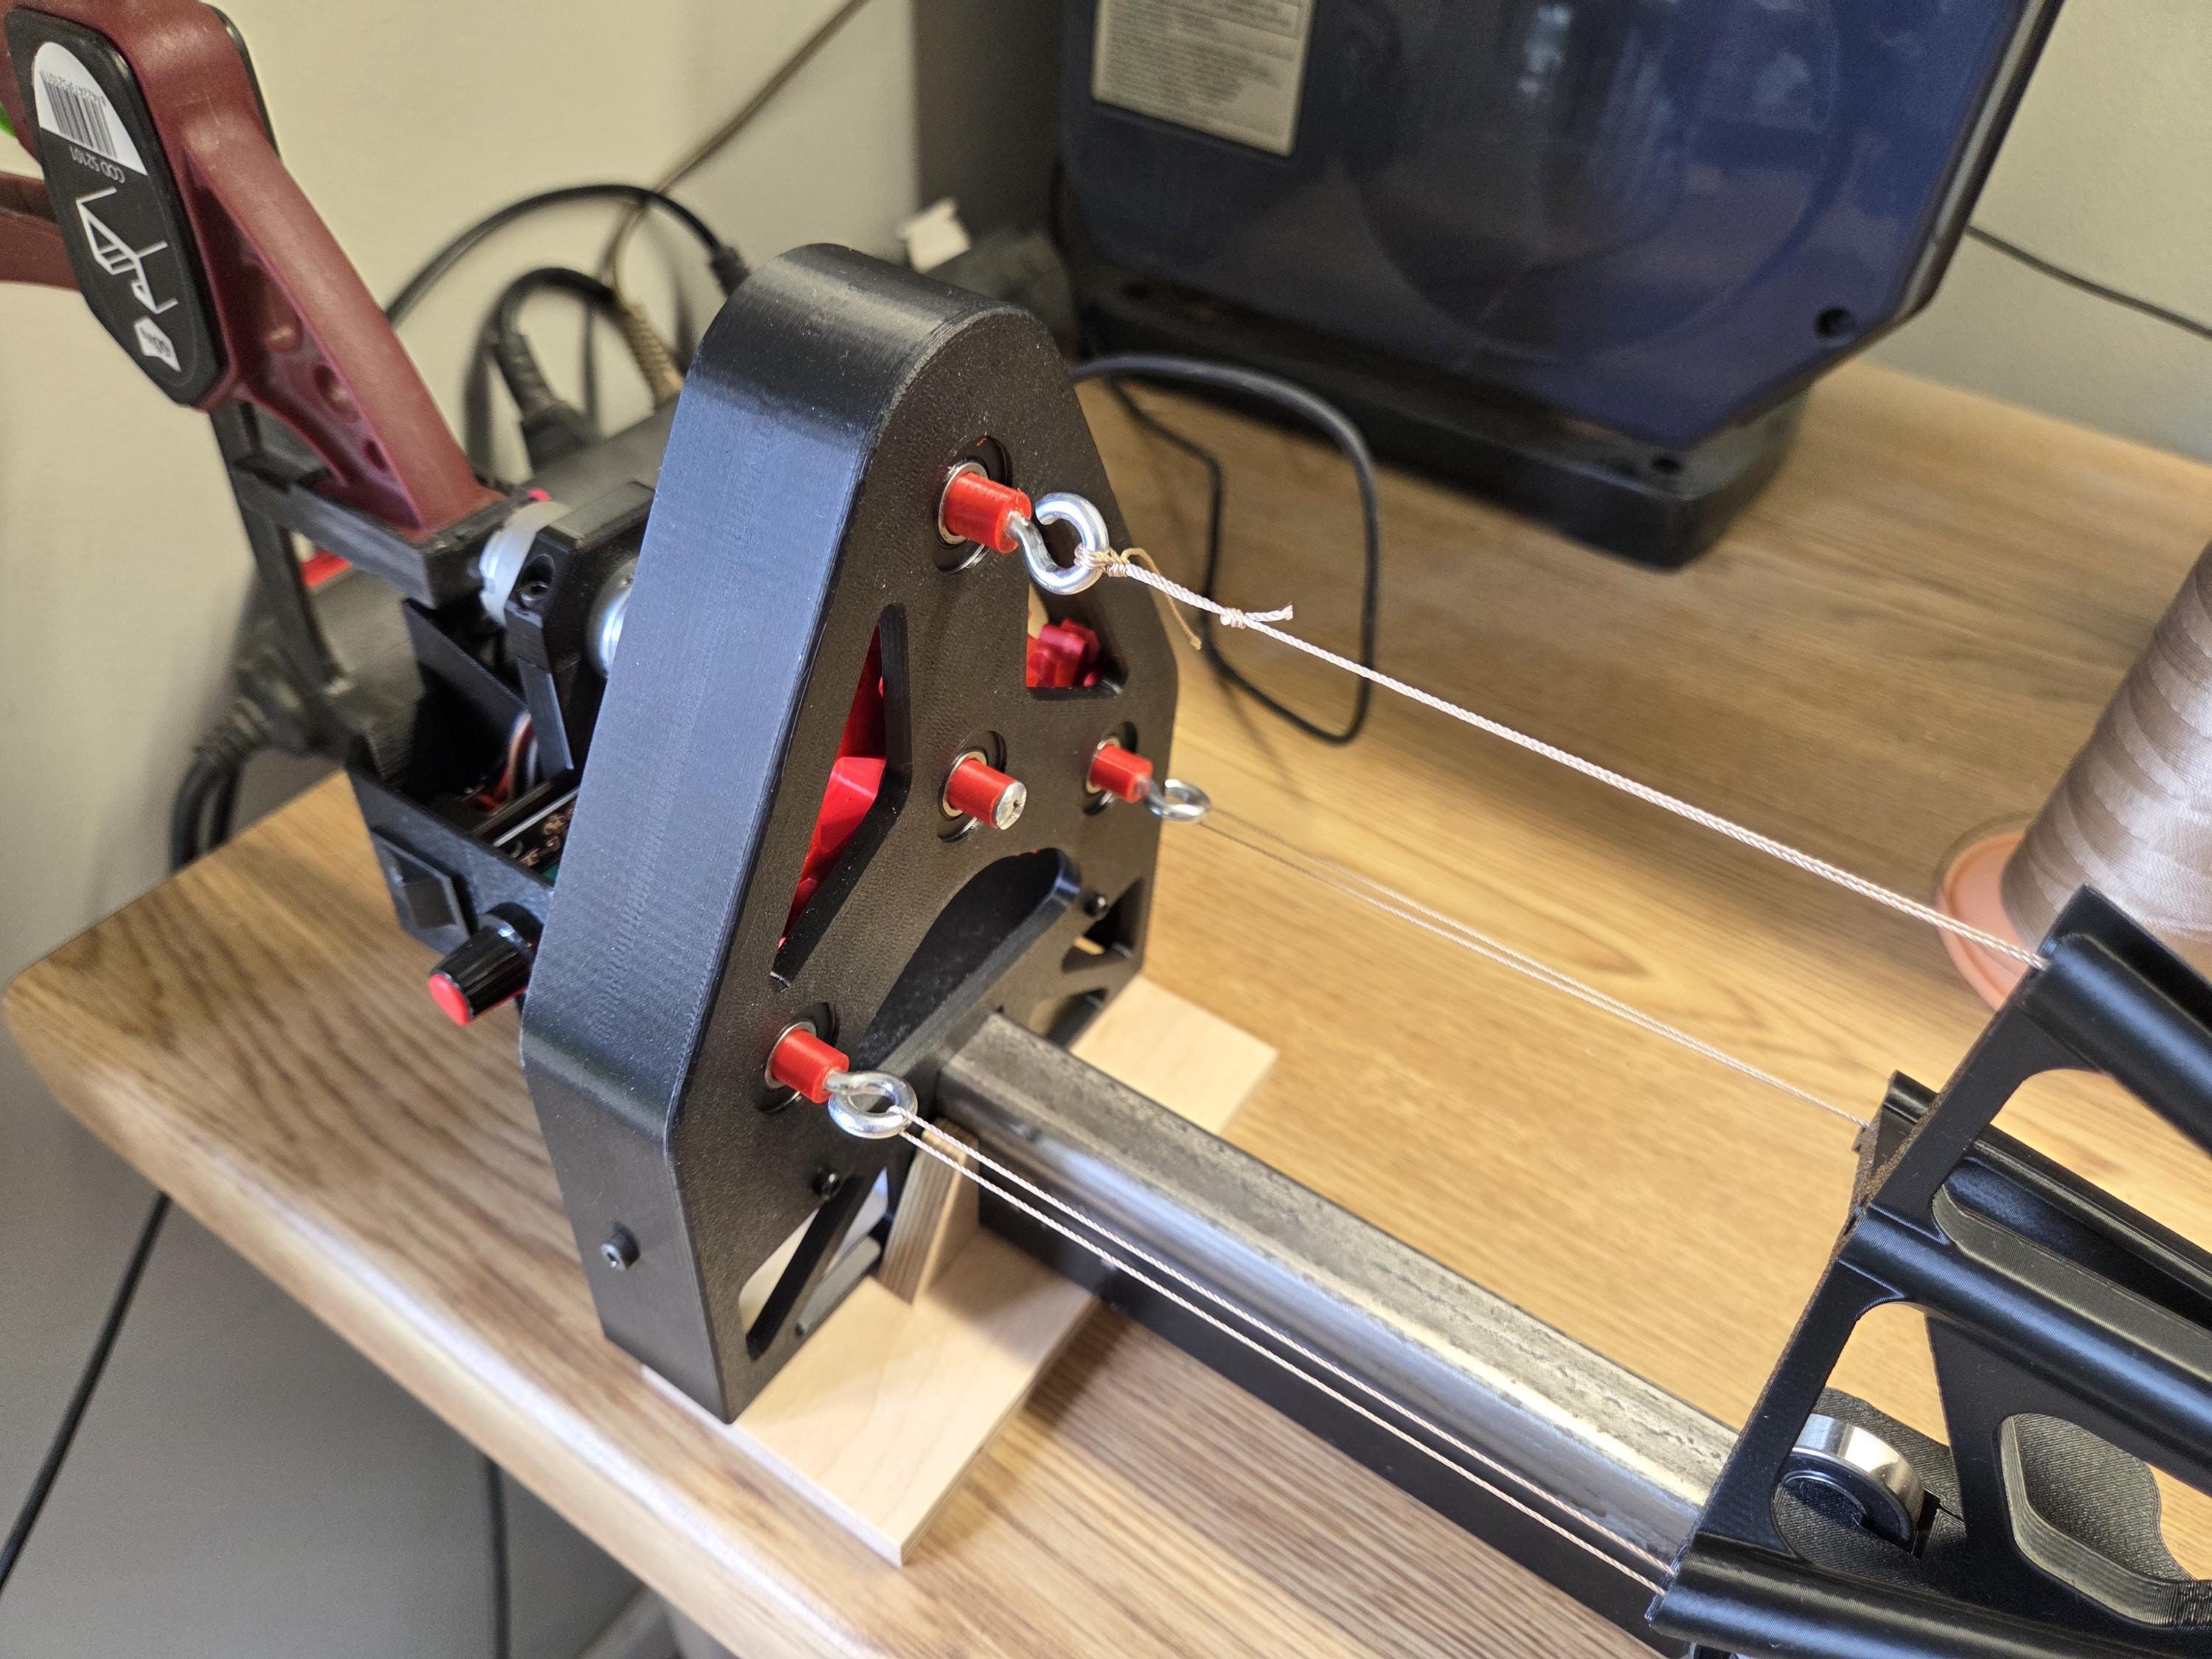
A small rope-making machine does one thing, very well: it holds the strands under even tension, rotates them at a set rate, and lays them up into a consistent round rope. Set the number of strands and the twist, feed your thread, and you get repeatable cordage in any thickness from fine rigging line to thick anchor cable.
This is exactly what the RopeMaster 4000 was built for — by a model-ship builder, for model-ship builders. Feed ordinary thread in one end; pull consistent scale rope out the other. The DIY kit is for makers who'd rather build the tool themselves.
A simple workflow that actually gets the ship finished
- Pick your thread (see our guide to thread for model-ship rigging).
- Make a short test length and check the thickness against your plan.
- Batch-make the common sizes first — you'll use the same line in many places.
- Store cut lengths on a card with a pin; they keep their shape.
- Rig from the thickest (anchor cable, shrouds) to the finest (ratlines, lifts).
What thickness do I need?
A common starting point for 1:72–1:96 scale is: - anchor cable / hawsers: ~1.0–1.5 mm finished - shrouds and stays: ~0.6–0.9 mm - rigging line and lifts: ~0.3–0.5 mm - ratlines: ~0.15–0.25 mm
The RopeMaster 4000 covers the whole range from a single machine — you change the thread and the twist, not the tool.
Does it look right under magnification?
Yes, because it *is* rope — three (or more) strands twisted under tension, the same way the original was made. The helix is real, the roundness is real, and because every length is the same thickness, the rig reads as uniform from bow to stern. That uniformity is what the eye reads as "professional."
Ready to stop twisting by hand? See the RopeMaster 4000 in the shop.